
In the beginning, the list of microphones on drums was minimal, even in recording studios.
Before the arrival of rock ‘n’ roll in the late 1950s, with its steady emphasis on the 2-and-4 backbeat, putting microphones near the snare was out of the question, and there weren’t many drum microphones on The Ed Sullivan Show.
The difference between country and western was the drums required to push western swing music, but it wasn’t until the Grand Ole Opry moved to Opryland in 1973 that entire drum sets were even allowed on stage. By that time, miking the snare was as normal as nailing the kick drum to the riser.
Early models commonly used on snare include the Shure 545 “Unidyne III” and Electro-Voice RE-15. Also introduced in the 1960s, the Shure SM57 dynamic remains the hardest working snare microphone and first choice of many of engineers. Besides the obvious “We’ve always done that,” or “It’s what’s in the microphone box,” there’s a logical reason for this preference.
Many still employ the age-old method of checking the PA by repeating the mantra of “check, one-two” into a vocal microphone, and since there’s no discernable difference between the sound of an SM58 and a 57, it’s no surprise that the same engineer who tunes the system with a 58, finds the 57 sounds natural on snare (or any other close-miked instrument). If you deny an old sound tech a 57 to put on the snare, he’s as likely to use a 58 as anything else.
Tuning It Up
Like the rest of the kit, if the snare sounds bad to begin with, you’re likely to end up with a louder, bad sounding drum. Though drastic EQ can sometimes make up for shortcomings and help a bad drum sound better, there’s no substitute for simply doing the deed of tuning the drum.
While entire books can be written on tuning drums, especially snares, a few easy rules are helpful, along with some simple tools. Snare top heads (“batter”) are usually coated with a rough surface to give brushes more sizzle, while bottom heads (“resonant”) are uncoated and thinner.
Before miking up a drum kit, it’s good to know how old the heads are and when they were last tuned. A drum can go from bad to good with a few minutes and a drum key, but this annoying chore should be tackled early, before others need to be in the room.
Both heads should be loosened and then tightened just enough to take the wrinkles out. By tapping the head lightly near each lug, the tension can be evened out so the tones all match.
Most methods for tuning the snare involve the bottom head being a few notes higher than the top head, A looser bottom head produces a fatter or “wetter” sound, while tighter produces a drier sound with more “pop.” The fundamental tone of each head affects the other, so small changes in one head can produce dramatic results, creating a sound that’s more muted, or more open, depending upon where you started out.
The timeworn method of tightening opposite pairs of lugs keeps the head centered and evenly tensioned. The best drum tool is a drum key, but the second-best is a second drum key, and those who subscribe to this method — as many eventually do often tie them together with a lanyard. A second key not only speeds up the process, it more evenly tensions the drum, making it easier to tune.
Are You Jellin’?
A snare drum with lots of resonance or ringing is often not what a live engineer wants, especially in a reverberant venue, Traditionally drummers (or their engineers) have resorted to adding a gaffe-tape damper, using a towel, or simply laying their wallet near the rim. Permanently installed cloth or felt often steals too much tone.
Another drum-roadie trick is the A-shaped ring. Either purchased as a drum shop product, or made from old heads, it creates a similar effect by dampening overtones. O-Rings and gaffe tape have been replaced by MoonGel, a stamp-sized sticky pad of blue gel plastic sold in 4-packs. Old drum techs will tell you they were using Blu-Tack adhesive art putty long before MoonGel arrived a decade ago. MoonGel is drum magic and every microphone kit should have some in the same slot with the drum key.
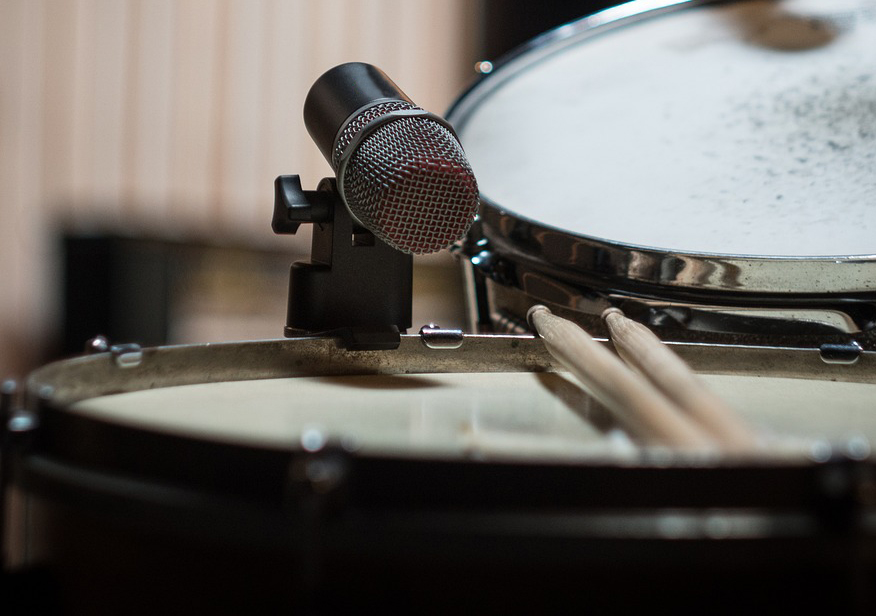
Microphone angle and distance make a difference. Too close and the snare sounds more like a tom as proximity effect emphasizes the drum’s tone. Too far and isolation is lost as other drums and cymbals are heard clearly in the snare channel and sent to any effects employed.
The rule of thumb is two fingers between microphone and head. An angle helps the microphone hear the buzz of the snare strainer from below when protruding slightly over the rim. Old-timers swear if you position the microphone correctly on a welltuned head, catching the strainer from below with a second microphone isn’t necessary.
What’s On Second?
That said, secondary snare input channels are those used with—as well as those used instead of—the main snare microphone. The time-honored “snare under” microphone is frequently chosen as a condenser or a bright dynamic to better catch the snap and crackle of the strainer, though it’s equally common to simply use the same model as the main microphone. Reversing the polarity of the “under” microphone combines it in-phase with the primary microphone, which hears the drum from the opposite direction,
Another alternate snare input is the “side-stick,” commonly used for ballads, jazz or Latin music, where the drummer lays the stick across the head and lifts it to strike the rim on the right side, The sound is different enough that a second input is often needed to correctly EQ and add the right reverb effect.
The position for this alternate input is at one o’clock instead of `0 o’clock, and is dictated by the practicality of getting a microphone in close where the stick strikes the rim. It’s not necessary to get the
microphone over the head and successful positions include some beside the shell.
Side-address capsules allow the microphone to sneak up beside the snare from a number of angles because its vertical body more easily fits between the snare and the rest of the kit.
Miniature microphones or lavaliers are often used for this application so they don’t interfere with drumming, but they must be properly shock-mounted from the drum. Some mic the snare shell if it’s wooden or the top if it’s metal, while others prefer the sound of miking the air hole.
Brushes also require a different microphone and a condenser helps to bring out their subtleties without resorting to drastic EQ.
The use of an alternate microphone and channel allows entirely different EQ, dynamics and effects to be used by simply changing channels.
There are countless schemes for using multiple snare microphones with different effects, depending on the music, and it’s not unusual for there to be several dedicated snare effects, some driven from a different microphones.
I’ve also seen engineers simply Y-split the same microphone to two channels to achieve this. In smaller venues, where the drum kit and especially the snare — seems too loud — the best use of a snare microphone is mostly as an effect send, due to the amount of snare getting in other microphones.


