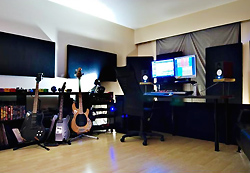


My “studio” has painted concrete walls, huge windows across one side, and is a L shape. This results in a very uneven frequency response and ridiculous flutter echo.
For not a lot of money I made a big improvement to this situation.
Rigid fiberglass is the most cost effective way to acoustically treat a room. Foam only really makes a difference with mid and high frequencies; the panels I made are effective down to about 125 Hz according to the specs of the material.
Here is a great site with specs for various materials: http://www.bobgolds.com/AbsorptionCoefficients.htm
What I got for my room: http://www.ofigroup.com/products/can_pdfs/can_ofi_48_rigid_fibre_board.pdf
I spent about $200 for the rigid fiberglass, fabric, wood, and staple gun. This made 96 square feet, which comes out to $2/foot (compare that to “name brand” foam, which is at least $4/foot and is less effective.) If I had used cheaper fabric it would cost even less.
Each panel takes about half an hour to make—faster if you have help.
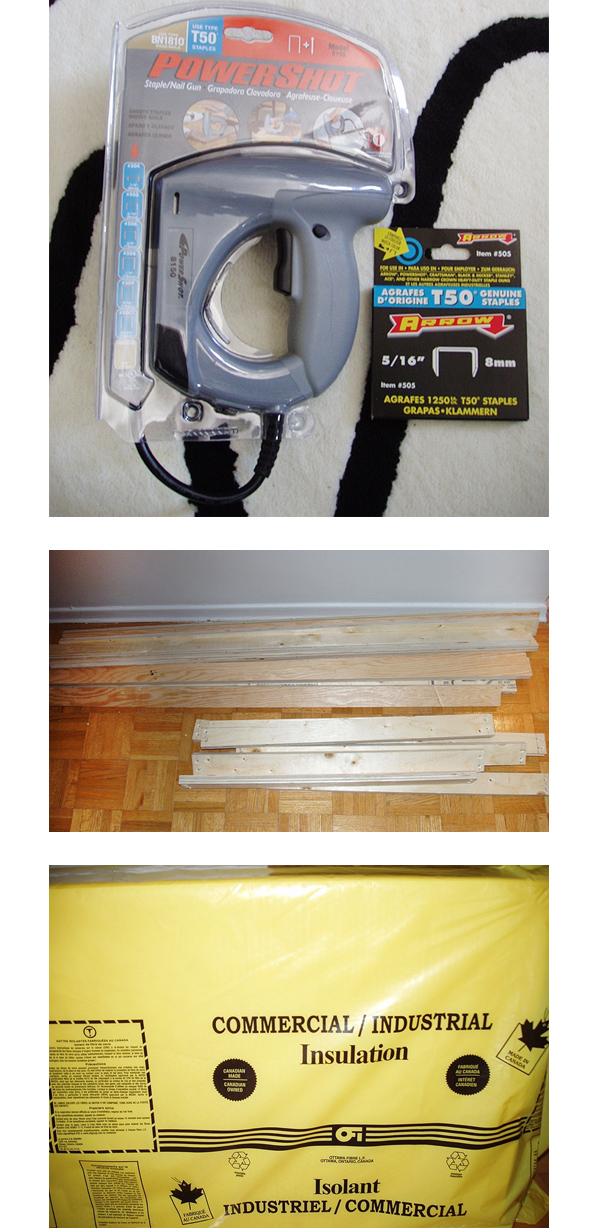
What needed to build these panels:
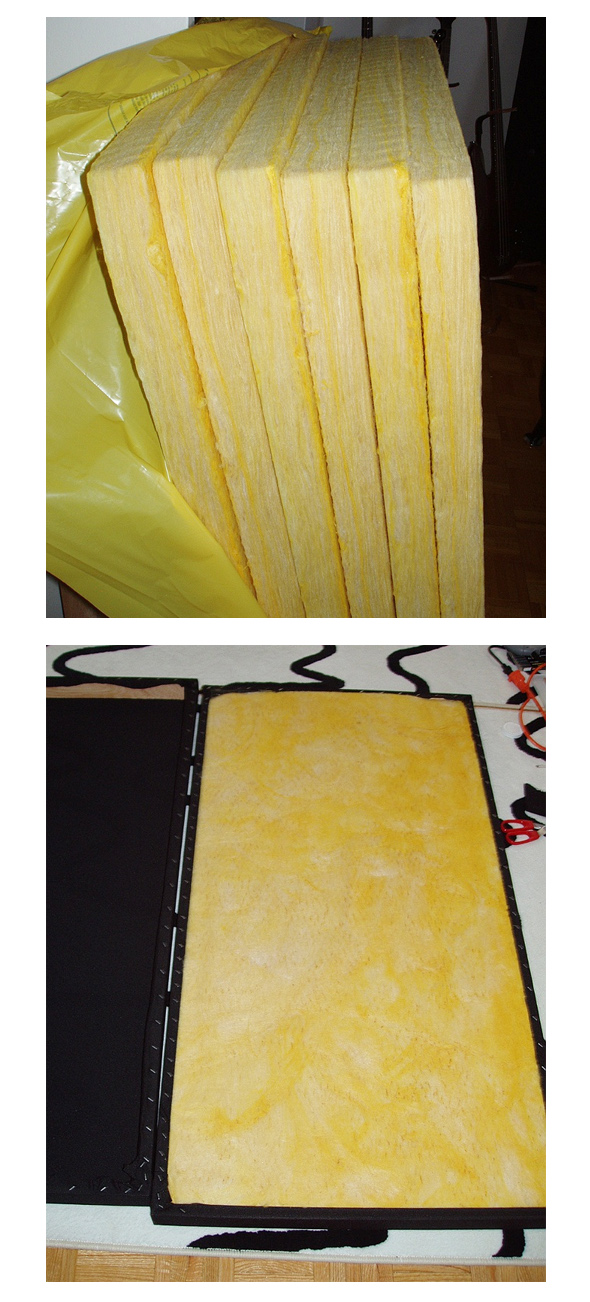
—Rigid fiberglass sheets (Owens Corning 703/705 or OFI 48)
—3/4-inch plywood cut into 2-inch-wide strips (Two 4-foot-long pieces, two 25.-inch-long pieces per panel)
—A staple gun and wood staples (electric preferred, Arrow or Powershot)
—Fabric for covering the panels—4.5 meters was just enough for the six panels I made. (I used black speaker cloth, normally $9/M, acquired at half price.) Any fabric that is breathable will work—hold it up and blow through it to test it.
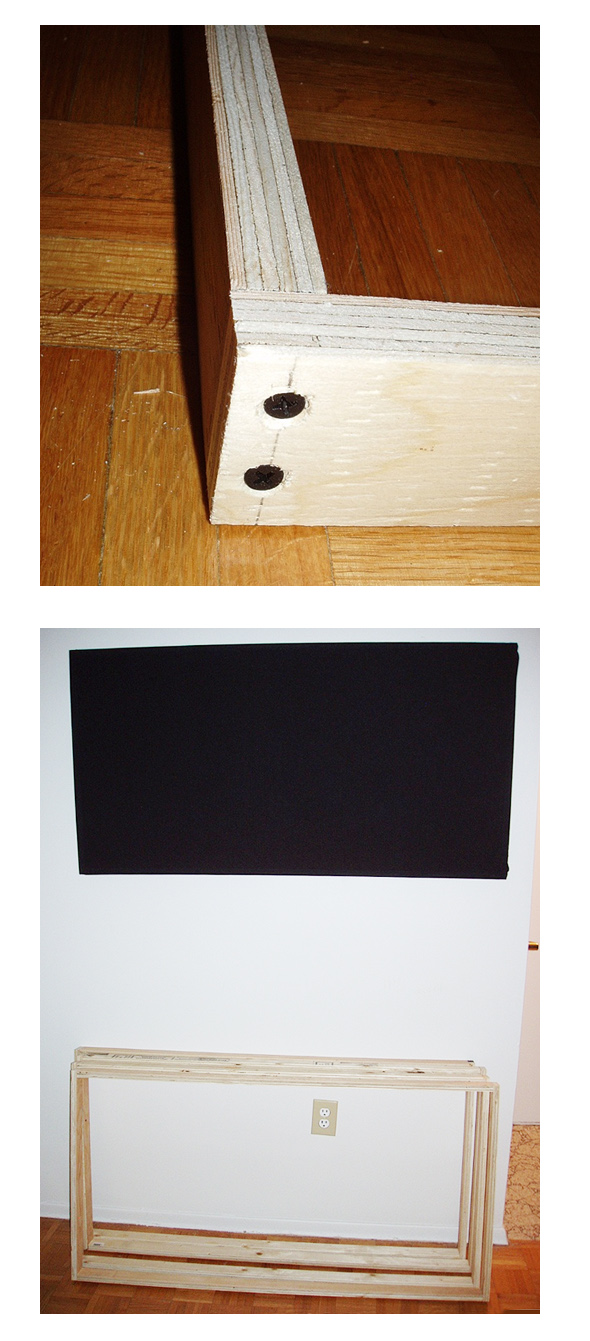
After the wood is cut to size, drill holes on each end of the shorter pieces, even spacing of course. Countersinking helps with the appearance, drill through once, then with a large gauge bit drill in just far enough for the screw head to sit in flush.
After the drilling is complete, screw the pieces together into a frame. Yes—I know there are technically better ways to build this that will be more sturdy, etc. But this is not a barn we’re building, it’s not load bearing, it doesn’t matter, so don’t even start.
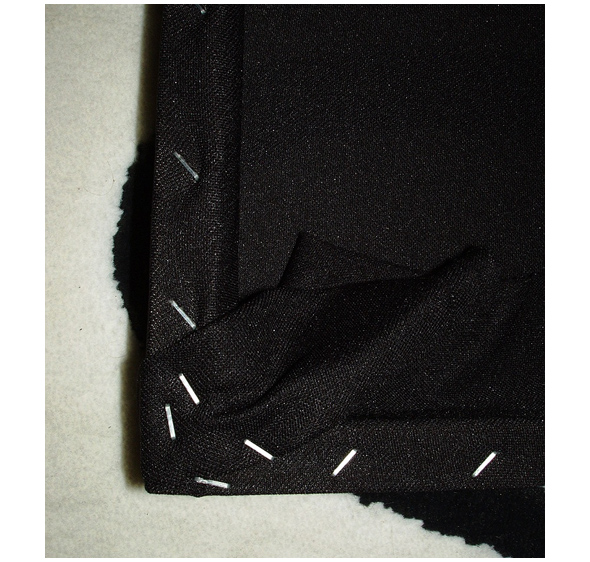
Below is a closeup of a corner, followed by four constructed frames below a completely finished, mounted panel.
Now here’s the hard part (not really). Lay out the fabric on the floor, or on a large table if you prefer. Lay the frame on top of the fabric so there is an even overlap on the right about 2.5 inches.
Begin stapling from the middle at an angle. Move over to the other side. Pull the fabric tight slightly and cut off the excess leaving about 2 inches. Staple as before but make sure you are keeping the fabric pulled tight and even. Do the same on the ends.
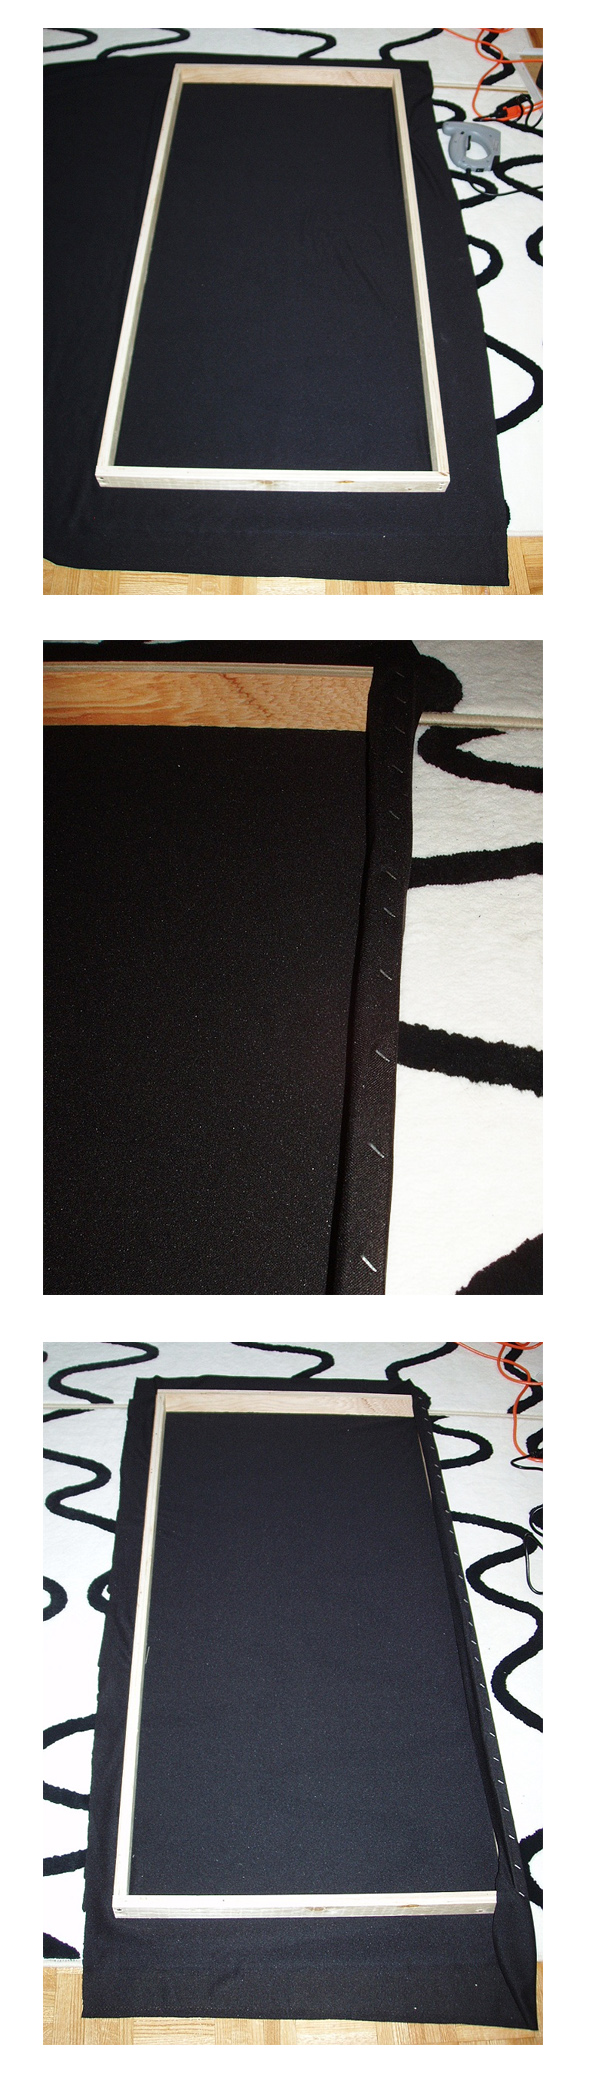
For the corners, there’s not much to it, just fold neatly and put a bunch of staples in.
Cut off the excess fabric if you want.
Now put on some gloves before you handle the fiberglass sheets. Think about it fiber-glass/glass-fibers. Common sense. It’s not going to hurt you, but will make you itchy.
Lay the frames down on the floor and drop the sheet of fiberglass on top. Push down from the middle to fit it in.
Try not to aggravate the sheet because you don’t want the stuff floating around the room or on your floor.
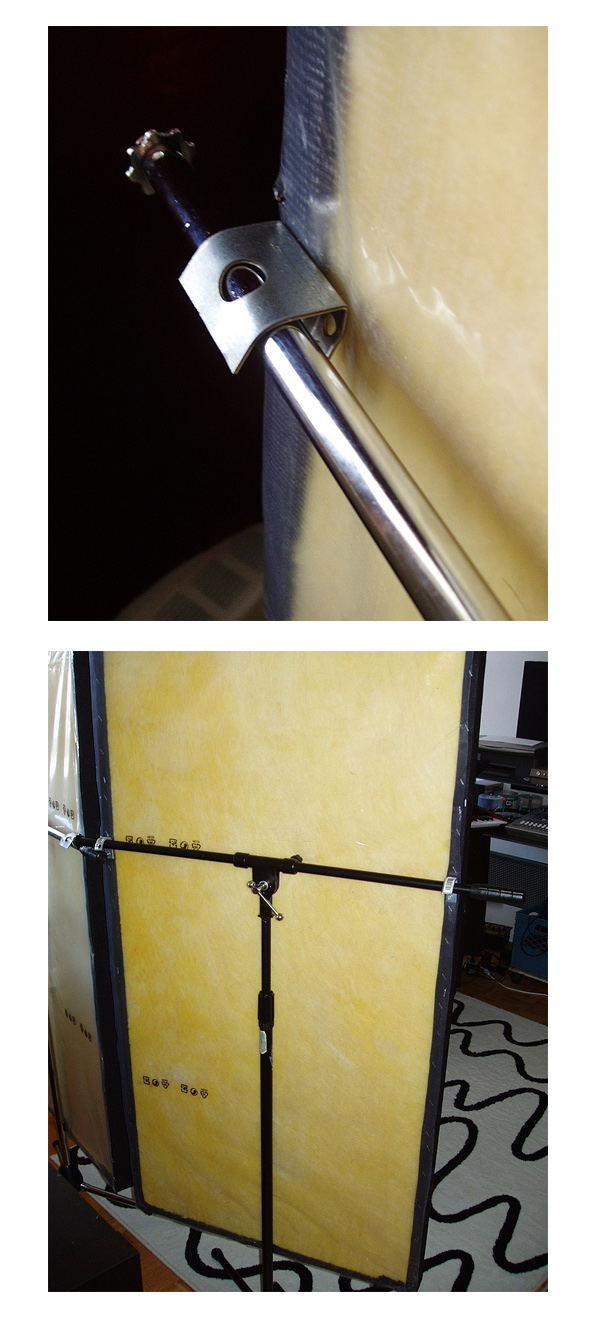
I made a few panels to be free standing, because my room is so large and L shaped. its difficult to get a symmetrical mix position. They mount on mic stands.
These panels on the stands help make an RFZ (relection free zone), as well as blocking out noise.
To make them I just added some spare brackets to the frames 16 inches down from the top, and bent them downward slightly. Here are photos of that aspect.
My room still isn’t great, but I’ve made a huge improvement for not that big of an investment. I now need to fine-tune the placement of the panels, and possibly do some furniture rearranging, but I’m pretty happy with the results so far.
Jon Tidey is a Producer/Engineer who runs his own studio, EPIC Sounds, and enjoys writing about audio on his blog AudioGeekZine.com. To comment or ask questions about this article go here.


