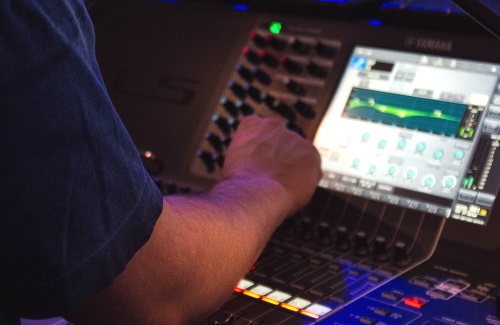
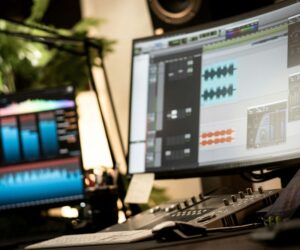
Allowing for quick access to often-used controls on my mixing console is something I think about a lot when creating and developing a show file, and it remains a priority as I move through rehearsals and actually begin the live mix. Whether I’m mixing for a worship service, music tour, or corporate event, this thought process is never far from my mind.
Depending on the architecture of the digital console’s hardware and software, I try to keep every task that’s necessary to shape the mix and access functions down to three moves or less. Two is even better… one is BEST!
Three Moves
OK, there must be at least a couple of “three-move” button push sequences that I use, but I can’t think of any right now. Let’s move on to the more efficient and exciting “two-move” sequences.
Two Moves
Many functions can be limited to two moves, such as quickly adjusting an effects (FX) return fader by switching from an input channel layer/bank to the FX channel layer and then back to the input channels. The same can be said for matrix send levels and group EQ/compressor adjustments if you’re utilizing groups for input processing.
I use a matrix (or two) for the subwoofers as I find I often have to make a quick level adjustment at the start of a show relative to where it ended up at sound check. Again, this can be a quick two-move swap between the VCA bank and the matrix bank if the console is set up so that all of the master buses (matrix, group, auxes) are located on one fader section.
In the same way, most modern digital consoles have multiple sections of faders with multiple banks per section so if the input list is 48-plus channels, they’re usually spread out over more than one bank. Therefore, it’s important to pay attention to where you orient the most “go to” channels (lead vocal, vocal delay return, lead guitar, the pastor’s headset microphone) so that you can quickly get back to them if you have to change banks to alter a channel on another layer.
One of my favorite features on Avid consoles is the “Bank Safe” select. I assign my most “valuable” channels just to the right of the central VCA/master bank and then put them in Bank Safe mode, so no matter what other banks of inputs are needed elsewhere on the console, I never lose my lead vocal’s location. (Brilliant!)
One Move
These are the moves we’ve been waiting for. A couple of examples of assignments I often use are made possible by utilizing the “User Buttons” available on most new digital consoles.
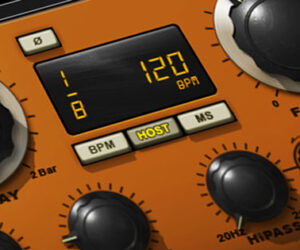
A very popular assignment is the “Tap Tempo” button. Setting a User Button up to sync with the BPM (beats per minute) or delay time function of the console’s digital delay allows you to tap along with the tempo of the song. This, in turn, adjusts the delay time of one digital delay device (possibly set to 1/4 note) or a second delay unit (set to 1/8 or 1/2 note), so it doesn’t have to be pre-programmed per snapshot or adjusted manually during the show.
A new trick I recently devised is setting up two “Macro” buttons on a DiGiCo SD5 console to select either a “tight” drum tom gate threshold or a “loose” gate threshold. In songs where the drummer is bashing away as if the cymbals were a childhood bully, the “tighter” tom gate is very necessary, while softer, more subtle tom work will not “break the gate” if the threshold isn’t lowered a fair bit. Simply press the button and voila, all light tom strokes are now audible.
Another one-move technique is to double assign one input into two separate channels for quick access when you want to adjust EQ/tone or different dynamics settings.
Ever worked with singers who pull way off the mic when they perform, leaving you to deal with a thin sounding vocal tone and an often-chaotic volume situation? You add some low-mid frequencies to make the vocal sound fuller, only to dive for that same knob and spin it quickly the other way when they “eat the mic” while singing in a lower register or talking to the audience between songs.
I’ve utilized a “split” setup in this situation, assigning the lead vocal input to two channels on the console. The “off the mic” channel usually has a small boost in the low-mids with a small cut in the high-mids (and maybe a little more compression), while the “eat the mic” channel has a higher HPF (high-pass filter) setting with low-mid cut and high-mid boost for added clarity. This technique takes the process down to one move (even though it takes two fingers on two channels) to balance tonality and level.
The same double channel approach also works well with kick drum, bass guitar, and electric guitar. Just help me sleep well at night by please always checking that the two channels (especially kick and bass guitar) are combining in a positive way. Frequencies can cancel if you start spinning the EQ knobs and adjusting the HPF, so use a bit of input delay on one of the inputs after EQ’ing to find the sweet spot tone-wise. (See “Caution, Channels Merging” for more on this.)
There’s More…
Another one-move programming technique is the utilization of scenes or snapshots as you move from song to song or segment to segment. Also, a “Mute/Unmute ALL” user button is a great way to kick off the event and then safely mute all the inputs at the end, or a Mute/Unmute button for sections of the band, such as strings, horns, background vocals and tracks.
I’ve also used VCAs in this way by assigning my last VCA as “Vocal FX” and then assigning all reverbs, delays and chorus FX here so I can quickly pull them way down or off as the lead vocalist is speaking to the audience between songs. This also helps when adjusting the overall vocal FX level in various song styles.
Another effective use of User Buttons is to quickly get to various “Screen Views.” As I’m building my console file, I determine which functions I’m working on the most, which need to be on the main screen. I can assign User Buttons to quickly take me to a certain screen and then bounce me to another important one.
Examples of this would be the “Plug-in/Effects” page or the lead vocalist’s “Compressor” page, then back to the main “Channel View” page. One button push can get you there, where it would have taken two or three with conventional methods.
Workflow on a digital console is a little bit like a fingerprint. Everyone has their own unique way of setting it up and laying it out. What’s comfortable and intuitive for one may completely confuse and frustrate another, so “own your show file” and make it work to your sensibilities. You’ll discover a workflow that ensures you can get to everything easily so all you have to focus on is bringing the music to life.

