
Several times, I’ve had churches reach out to me to fill the mix engineer role for a special concert or service. They don’t have an engineer on staff but want their sound to be better than for typical Sunday morning services. Oh, and it’s usually at a church I’ve never been to.
Similarly, if you’re an up-and-coming engineer, there won’t be the opportunity to have everything the way you like it. You’ll be filling in a lot and jumping in on other people’s setups. It can be complicated when using different setups and working with new people, figuring out the intricacies of the instrumentations, etc.
But if you have an easy, straightforward checklist that you can refer to to organize your thoughts, you can build a setup from the bottom up with a solid foundation and move smoothly forward rather than skipping steps and having to backtrack. With that in mind, here’s a checklist I’ve developed through my experience that brings the process down to 10 easy steps.
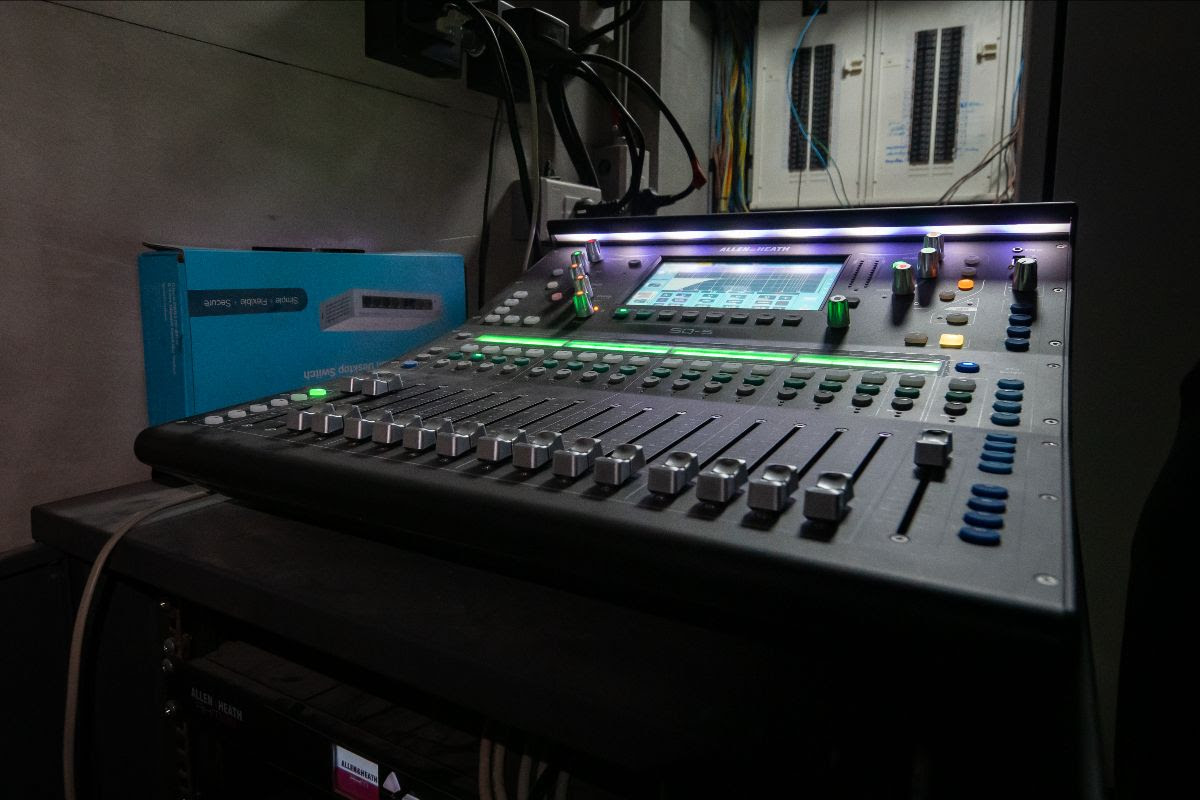
One. Do your homework. Try to find out the specs of the room ahead of time. Learn what console you’ll be working with, and if necessary, head to YouTube
Do your best to find out the specs of the room. Learn what console they are using and head to YouTube University to learn more if it’s a model you’re not fully familiar with.
Find out the limitations of the console, the number of inputs and outputs, the number of FX slots, etc. Does it have an iPad app to control it? Are you familiar with at least the basic layout of the app? Do you know how to soft patch or build a custom fader layer to suit your workflow, if it’s even possible on the specific desk? Get acquainted with the basic layout, workflow and limitations of the “brain” of your operations.
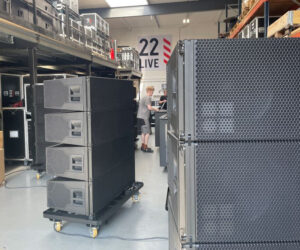
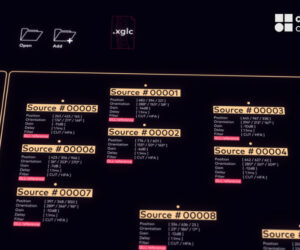
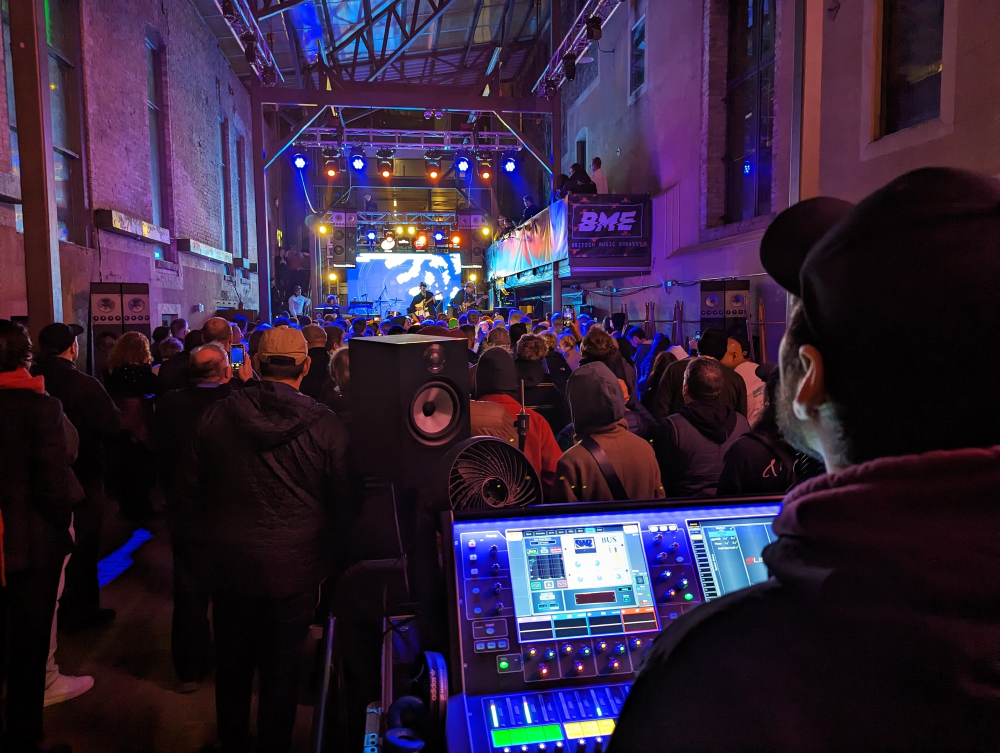
Two. Assess layout and routing. Ask the house tech, assistant or anyone else that knows the space where the system’s loudspeakers and subwoofers are located in the venue. If there’s no one to help obviously, figure out another way to get the information – it’s your foundation.
How many mains are there, and where are they positioned? How many subwoofers? Are there sidefills, frontfills and/or delays? Next, find out how they’re routed. Are the mains in series with the subs or are they on auxes/output buses or even organized through matrices? This will affect your workflow: will you need to feed all each loudspeaker separately rather than providing copies of your main mix that can then be adjusted for overall balance?
Three. Assess the stage. Find out where the stage boxes and monitors are. Any there any musicians using in-ear monitors? If there are multiple stage boxes, are they daisy chained and how do your inputs and outputs correlate with that? If you have an iPad, you can walk around the stage and double check the layout of the monitors, take a mental note of the organizational thought process, whether it might be in order stage right to stage left or maybe band hierarchy order etc. Does the stage box have extra connections? It might be needed in case musicians come asking for an extra this or that – i.e., “I have my own in-ear setup (and/or) wireless mic. Do you have room to add them?”
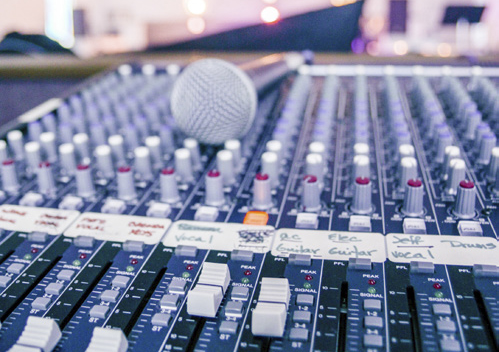
Four. Double check labeling. Choose a small handful of inputs to assess if the labeling is accurate and up to date. Sometimes when there isn’t a designated engineer in house, people don’t feel the responsibility of taking pride in their work, so they may just plug into whatever channel is convenient to them – always check to be sure ahead of time and correct any problems.
It’s your responsibility and there’s no time to be confused or have to hunt inputs while the band is on stage trying to sound check. If those few you selected are all accurate, you can likely trust that you don’t need to check every input, but if something’s off, check everything since the trust is broken.
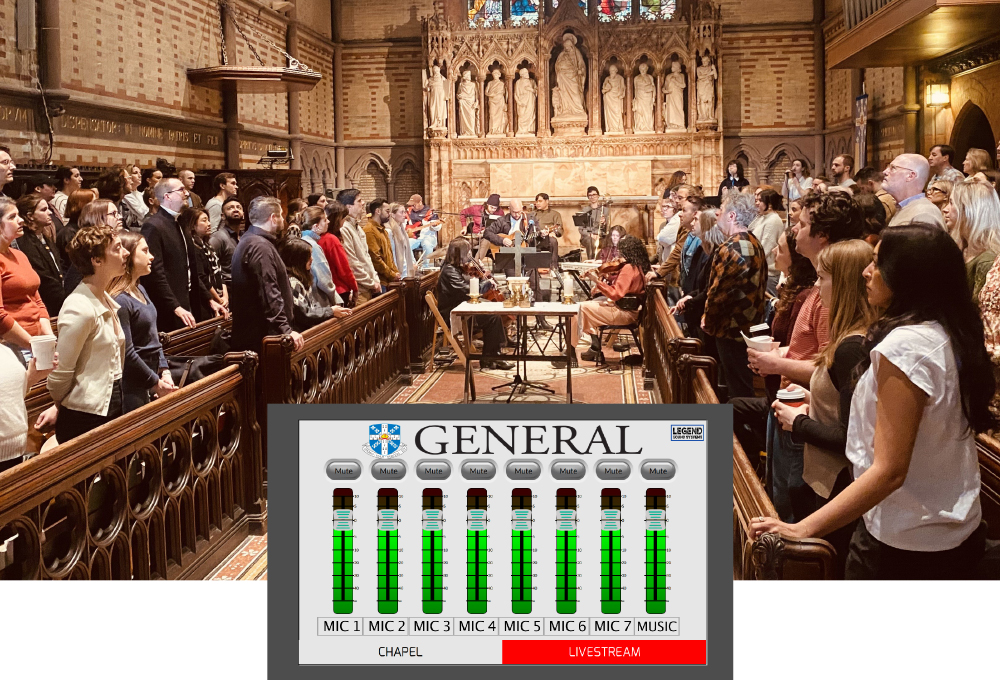
Five. Time for some tunes! If possible, play some reference songs. It will give you a chance to see if there’s an aux cord and where it’s plugged in – you never know when you might be asked to DJ during breaks. With this you get to understand a basic impression of the gain staging of the room. How much do you have to put in to get out?
Make sure you’re familiar with the sound and balance of a few different options of songs, and if you’re in a church, it might not be appropriate to reference with Young Thug, so have some Maverick City as a backup! Walk around with the iPad, if you can, to all the main listening positions in the venue.
Take a moment to check if there’s any EQ on the mains or subs. See if you want to adjust the EQ on the mains or subs to fit your ears in the room, so when you get to sound check, you can trust your instinct better knowing the loudspeakers align more with what you’re familiar with. You can even take this time to send the music to each of the monitors on stage and ensure that routing is correct and if there’s any EQ on those monitors to be aware of.
Six. Analyze the inputs. Do you know the input list for the band? Are you just running a setup with all the familiar musicians or will the band be using the house backline and adding a few pieces? If the order of the inputs is wildly uncomfortable to you, this can be where you create your custom fader layer to appease your workflow.
Based on the impression you got from hearing the references in the house, you can take a look at the inputs and see if the EQ and gain settings (and etc.) are to your like of if there needs to be a better starting point for sound check. Moreover, check if the inputs are sent to subgroups, DCAs or directly to the mains to make sure there’s not another step in the chain you’re overlooking and you can’t figure out why there’s no sound.
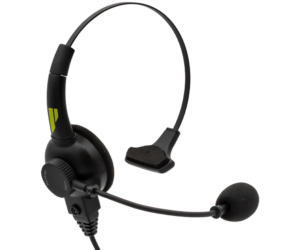
Seven. Check wireless gear and batteries. Is there wireless gear in house? If so, will you be using it? If so, inspect the RF signals to see if they look strong and trustworthy, or if you need to adjust one of two – or if you just need to start from scratch and reset them all.
Once that’s handled, check that the routing correlates to the labeling on the console. And don’t forget to examine battery levels. Will the mics and in-ear packs make it through sound check and show time or not?
Eight. Double check back-end routing. If there’s time, determine where in the chain the monitors are getting their signal from. Find out if they’re pre- or post-processing/fader and adjust to your liking if necessary. And if need be, this can also be your time to set up any DCAs or mute groups (if you like to use them).
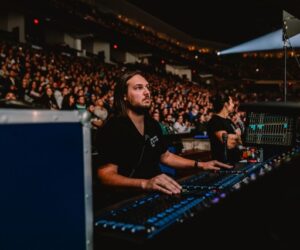
Nine. Check in with the musicians. Hopefully by now, the musicians are trickling in and beginning to set up. This is a good chance to introduce yourself and ask some questions. You can double check the band instrumentation and if there are any instruments or inputs they forgot to tell you about. You can ask if they have preferences for their monitor mixes.
You might get lucky and certain musicians or singers tell you they only want two specific things in their monitors, nothing more, nothing less. This gives you a chance to make a positive start to your evening – break the ice with the musicians, instill them with trust in you and get the evening off on the right foot.
Ten. Take it from the top. Do one last double check. Flick through the checklist one more time to make sure that you didn’t skip or overlook anything. Then once you’re organized, get ready to start a systematic sound check where you control the flow and order.
And that’s that! Most live systems are a huge puzzle with many little pieces, so it’s very easy to get lost among it all or overlook something and lose track, but if you organize your thoughts and workflow, you compartmentalize the puzzle pieces into more manageable chunks. When your brain moves from topic to topic is when you’re most likely to forget something and make mistakes. I hope this list is helpful and helps with being in control, trustworthy and professional.