Boundary mic on the lectern surface. While boundary mics can sound fine through a PA and provide a very clean look for video, they only work with presenters who read their speeches off of a teleprompter because the mic will be covered up by papers. Ditto laptops that are now common on lecterns for running Powerpoint presentations.
Gooseneck mics. They’re designed to be used on lecterns and consist of a small mic element mounted on a thin adjustable gooseneck stem. They come in three main mounting types, including XLR, threaded, and base units.
XLR types have a standard XLR connector built into the end. They’re designed to be inserted into a shock-mounted desk connector or placed into a clip like a regular handheld mic.
The base of threaded models screw onto a standard 5/8”-27 flange or mic stand, with the cable exiting the side of the gooseneck at the base. These should also be used with isolated flange mounts to reduce transmitted noise from the lectern.
Base type mics have a built-in stand and can be placed on a lectern or table. Some offer push-to-talk or push-to-mute switches in the base to give presenters added control.
Gooseneck models are available in a variety of lengths to suit different applications, with lengths of 12 to 18 inches being the most common. They’re probably the best choice for the majority of lectern uses because they can provide quality audio in a compact, discrete package.
Tricks Of The Trade
Placement of a podium mic depends on whether or not a laptop will be used. If yes, I try to position the mic on the (stage) left side, because the majority of people are right-handed and thus prefer the laptop on that side. If no, I usually opt for a more centered placement.
Often two podium mics are utilized, but only one feeds the PA. The second one may be a backup in case of failure or offer an alternative pickup pattern that may work better depending on who’s speaking and their location. The second mic also might feed a recording and/or broadcast. A common technique is to place two gooseneck mics at the far corners of the lectern, bend the goosenecks toward each other, and then tape the heads together. This puts both mic elements in the same place in the middle of the lectern top.
My preference is to use a single gooseneck as the main mic with a lavalier as the second mic, taped right below the gooseneck’s element. It provides a cleaner look onstage while offering the option of a backup and a second polar pattern.

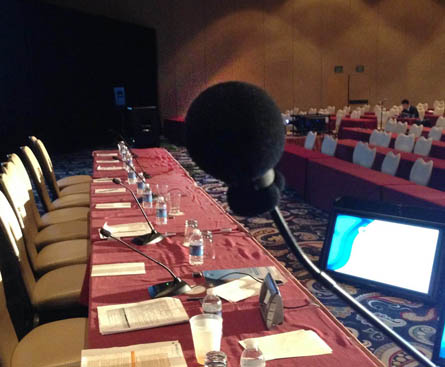
No matter the type of mics, make sure they sport a windscreen, even indoors. Even with constant coaching of presenters to speak about four to six inches away from the mic, there are always a few who think that they need to press their lips against it to be heard, which results in plosive pops and breath noises.
At a recent conference I had to add a second windscreen to a gooseneck podium mic (made from a standard-sized ball mic windscreen) because the host and moderator of the event would not back off the mic. The heavy-duty plosives could only be tamed by an extra layer of foam.
Some lecterns have holes in the top surface for running cables, keeping them out of the way. For those that don’t offer holes, I normally run the cables down the back side, away from the audience, and gaff tape them securely so they won’t get snagged. Always leave a coil of cable inside the lectern or under the stage in case the lectern is relocated right before the event. (I’ve seen it happen many times.)
