Step 5: Check It
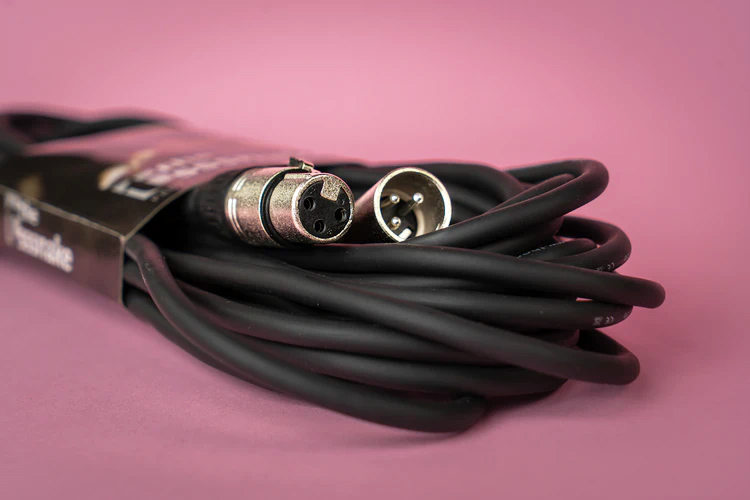
In my shop we do a thorough check of all cables and connections at least once a year. That is, we pull everything out of inventory and use Simple Green to clean the exterior of the cables while also looking for any cuts or abrasions in the cable jacket.
Small cuts can be dealt with by using a few wraps of electrical tape, but cables with deep cuts that expose copper need to be completely reworked. For example, we usually turn damaged mic cables into several shorter adapter cables (turnarounds, TRS to XLR, and so on).
Step 6: Clean It
All connections will eventually oxidize (rust). Not only does this result in intermittent sound, it can actually cause distortion via diode effects. Yes, we’ve all heard that fuzzy sound on a channel that goes away mysteriously if we re-plug the cables. It’s likely due to oxidation.
Don’t use sandpaper or emery cloth on the connections. A much better fix is a good contact cleaner that’s also safe for rubber and plastics. My favorite for connector cleaning is DeoxIT D5 from Caig Laboratories.
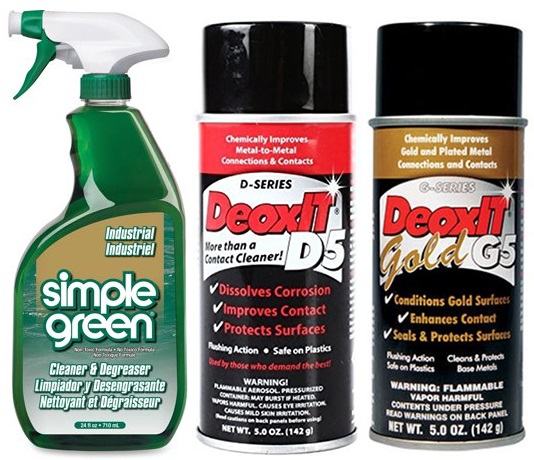
While $15 a can seems like a lot of money, only a little spritz is needed for each cable and console connector once a year to keep the metal contacts clean.
In addition, D5 leaves behind a mild lubricant film that helps protect the metal contact from future oxidation, and it also makes plugging and unplugging easier. It’s simply the best connection cleaning product out there as far as I’m concerned.
Step 7: Go For Gold
If you happen to have gold connectors on a stage box that need to be cleaned, Caig makes a product for that as well. DeoxIT Gold G5 is great with mult-connectors for sub-snakes. It actually reconditions the gold-plated contacts and restores the connections. I use it all the time with great success.
Step 8: Mark It
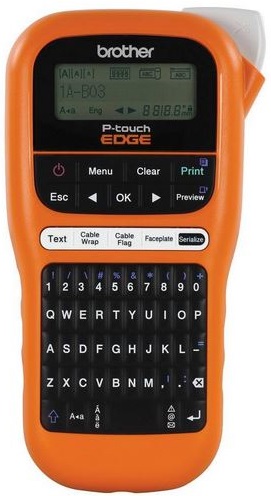
If all of the connections on the back of the mixing console are not marked as to what goes where, now’s a good time to get a P-Touch labeler. More specifically, the Brother P-touch model PT-E105 is specifically designed for marking cables and costs less than $40). Get one and begin the documentation procedure.
I know this is boring work, but it’s really a necessity. Once, there was an instance near me where someone walked into a church between services and stole the mixing console–pulled the connectors, picked up the console, and walked out the door with it.
I received a call Monday morning to install a temporary console until insurance could deal with a replacement, but since none of the cables were marked (and I mean none of them) I spent a few hours sorting out every input and output to determine where it came from and where it was going.
Simply putting the floor pocket numbers on every input connector, and loudspeaker assignments on every output cable would have saved a lot of frustration and time I had to bill them for.