Preventing Problems
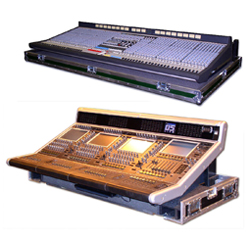
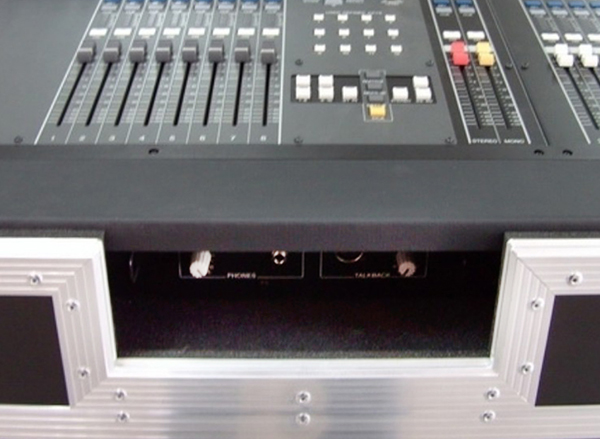
Note that if a console is used in any enclosed unit, be it a case or a desk, make sure there’s enough airflow around the unit and that any ventilation holes are not blocked.
Heat can damage electronics, and many units have heat sensors built in that will turn it off if temperatures get too hot. Not exactly what we want to happen during a gig.
No matter the style or type of case, make sure it fits and supports the console during transport and use. And speaking of transport, take care to secure the case in the truck, especially if it’s got wheels. I strap mine to a truck wall.
Cases require preventative maintenance (PM) just like any other piece of gear. They should be inspected regularly for damage or other problems. Be sure to repair or replace defective parts, or the case might not be able to supply the proper level of protection. Lubricate parts like castors, hasps and hinges with manufacturer-recommended product at regular intervals to keep them working well.
Let’s move along to PM with consoles. At my shop, we go over our front-line consoles a minimum of four times a year. Boards that mostly sit on the shelf are still checked once or twice annually.
A factor to take into account is the environmental conditions the console has been exposed to. A mixer that’s been used at outdoor events that are both hot and dusty—a regular occurrence at my base of operations in Las Vegas—gets more PM scheduled than one used on indoors at corporate events in air conditioned ballrooms.
Logic dictates that newer consoles can get by with less attention than older ones, but only to a point. A good way for new equipment to age before it’s time is to ignore PM, and that not only jeopardizes performance at shows but overall return on investment.

Care & Feeding
I begin console PM by giving the surface a good cleaning. Dust and dirt can be removed with a vacuum and a dry cloth. You can also use compressed air in a “duster” can or from a compressor to blow away dust. Make sure if using a compressor that it’s of the oil-free variety so it’s not spraying a light film of oil on the console.
Take care to follow manufacturer recommendations on cleaning console display screens because some chemicals (even mild glass cleaners) may damage the screen surface. Check all ventilation holes and vacuum out the dust. Clean or replace any air filters per manufacturer instructions.
Board and gaff tape residue can be removed with a cleaner like Simple Green. If that doesn’t work, step up to a citrus-based solution like Goo Gone. Be sure to read the directions and warnings on the labels of cleaning fluids. While cleaning, give the console an overall evaluation, looking for damage. Also make sure any onboard option cards are installed correctly, and if no cards are used, check that the covers are still securely in place.
Next, check all the connectors to see if they’re loose or broken. A small soft-bristled brush and a vacuum work wonders for getting dirt and dust out of connectors. Electronic connectors can be cleaned with a contact cleaner like CAIG DeoxIT. Fiber optic connectors should only be cleaned with items made specifically for fiber, such as products from Sticklers, TechSpray and Chemtronics.
Examine the power cord for damage, and don’t overlook external power supplies. Clean out all ventilation ports and check the filters and connectors on external power supplies. Also check any power supply cables.
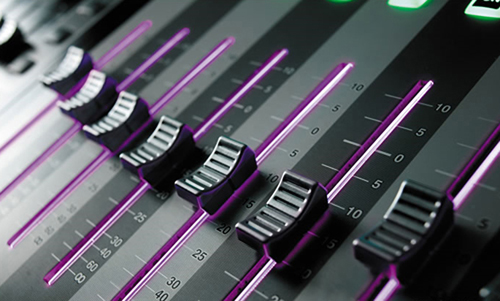
Faders on analog consoles can be addressed by blowing clean air into the fader slots. Move each fader to one end and blow air into the slot, aiming away from the fader handle so that dust can escape through the slot. Then move the handle to the opposite end and blow air aiming the opposite way.
Get all dust and dirt out before using a contact cleaner or lubricant, or else the chemicals might mix with the dust and gunk and turn into a sticky mess. At my shop, we use DeoxIT fader spray, working the fader back and forth a few times to get all surfaces wet with the cleaner. Also, let the faders dry before plugging in the console. With digital consoles, clean the faders per manufacturer instructions.
Once satisfied that the console and connectors are clean and in working order, plug in the console and turn it on. Check the firmware and software versions and visit the manufacturer’s website to see if there are any updates available for both the console and ancillary gear like computers and tablets.
Finally, connect the console to a system and provide input via a microphone and/or playback device. Test the onboard connectors as well as the surface knobs and faders. Go through functions and make sure they work and pass audio cleanly.
Console reliability is a must in our business, and a little investment in PM helps ensure smooth gigs with no surprises.
Senior contributing editor Craig Leerman is the owner of Tech Works, a production company based in Las Vegas.

