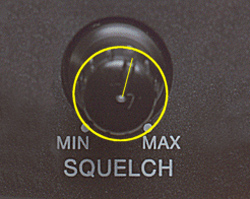
On the back of analog wireless microphone receivers is a small knob labeled “squelch.” Which begs the question…
How do I set the squelch?
Shure provides a simple set of instructions:
1) Turn the transmitter power off to eliminate the desired signal.
2) Turn on all associated equipment in nearby locations to create the “worst-case” signal condition.
3) Set the receiver volume control to minimum to avoid excessive noise in the sound system.
4) Turn the receiver power on.
5) Observe the RF and audio indicators on the receiver.
6) If the indicators are showing a no-signal condition the squelch setting may be left as-is.
7) If the indicators are showing a steady or intermittent signal-received condition increase the squelch control setting until a no-signal condition is indicated. Set the squelch control slightly past this point to provide a threshold margin.
8) If the no-signal condition cannot be achieved even with high squelch settings it may be possible to find and eliminate the undesirable signal. Otherwise it may be necessary to select a different operating frequency.
9) Turn the transmitter power on.
10) Make sure that the receiver indicates a signal-received condition with the transmitter at normal operating distance.
The Take Away
There are a lot of benefits of using wireless microphone systems. At the same time, using wireless technology means you are introducing a whole new host of potential problems.
The next time you have an interference issue with a wireless microphone, listen to what’s being emitting through that channel. If it’s the nastiest sound you’ve ever heard, then it’s likely a problem you can easily squelch.
Ready to learn and laugh? Chris Huff writes about the world of church audio at Behind The Mixer. He covers everything from audio fundamentals to dealing with musicians, and can even tell you the signs the sound guy is having a mental breakdown. To view the original article and to make comments, go here.