A speaker requiring only 8 watts for the same 95 dB SPL would require 80 watts peak. It is advisable to allow at least 10 dB above your continuous monitor level for peaks and you should select a monitor capable of handling repeated inputs at 10 dB above that level without failure or distortion.
Obviously, the power amplifier should be chosen after you choose the speaker unless you plan on buying a big amplifier. We normally install Crown D-150As with JBL 4311 (monitors) or Klipsch monitors, and Crown DC-300As with everything else.
Placement of the monitor speaker in a corner of the room will reinforce the bass output of the monitor as will placing it near the floor or ceiling of the room.
Placement in the center of a wall will provide the least amount of reinforcement. If you want to demonstrate this effect simply place a speaker on the floor, run pink noise (or FM inter-station noise) through the speaker and slowly lift it off the floor. You will notice a marked change in the sound of the speaker.
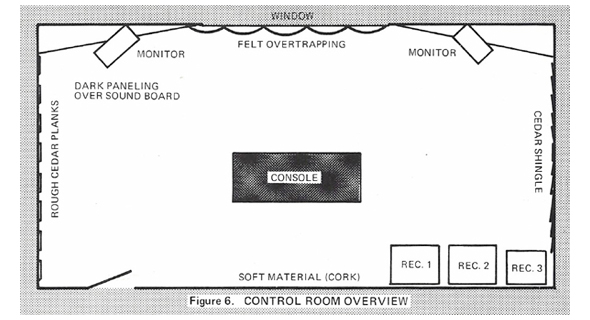
We recommend that you allow some time to try out several different monitor placements in your control room before committing to a certain spot. However, the relationship between monitor and console placement as outlined in Figure 5 should still apply regardless of your final choice for the monitor placement.
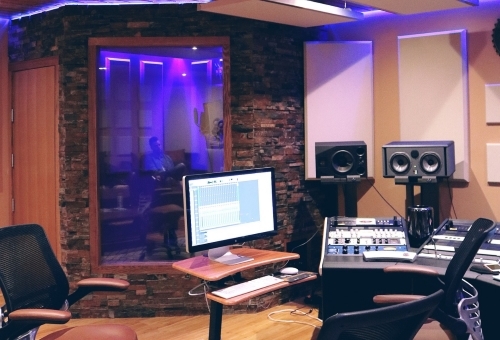
At Abadon/Sun we consider several things to be important in the early stages of design concerning the aesthetics of the control room. We center our designs on providing the mixing engineer a comfortable place to work. This includes providing comfortable surroundings and eliminating unnecessary distractions.
For that reason, we like to place all the recorders and accessories behind the mixer, or to his side so that when he is mixing there are just the artists performing and the console readily visible to him. This excludes, of course, such things as limiters which must be adjacent to the console but should be below eye level.
Proper lighting of the control room is also important. We normally light the area of the console with multiple low-intensity floodlights on overhead tracks and soft light the recorders with additional track lighting. This eliminates quite a bit of the distraction that arises from all the moving meters and lights on equipment other than the console.
The point behind all this is that the mixing engineer’s attention is concentrated on the work at hand which in turn leads to a better product. As a further extension of the same ideas, we recommend the use of dark colors and wood surfaces in the control room. For example, try using sections of dark walnut paneling and sections of padded felt in dark blue or black. The effect is very pleasing.
You should now have all the basics required to construct a good control room without a lot of guesswork. The 9′ x 11′ x 14′ room discussed earlier has been recently built and seems to work very well. Please remember that it is based on a small control room situation and as such is merely one design approach, however, it is a proven approach which provides excellent results in a minimum of space.
Editor’s Note: This is a series of articles from Recording Engineer/Producer (RE/P) magazine, which began publishing in 1970 under the direction of Publisher/Editor Martin Gallay. After a great run, RE/P ceased publishing in the early 1990s, yet its content is still much revered in the professional audio community. RE/P also published the first issues of Live Sound International magazine as a quarterly supplement, beginning in the late 1980s, and LSI grew to become the monthly publication that continues to thrive to this day.
Our sincere thanks to Mark Gander of JBL Professional for his considerable support on this archive project.