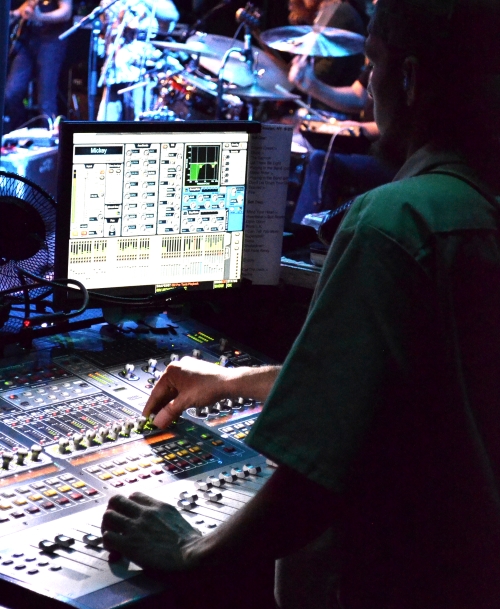
It’s my favorite time of the year to be an audio engineer. The middle of the summer and festival season is in full swing.
Although the term “festival” conjures up images of the giants – Coachella, Bonnaroo – most of us find ourselves working the smaller events that pop up all over the place – farmers markets, jazz on the square, local arts festivals, and so on.
Many of these events aren’t large enough to enjoy the luxury of a dedicated monitor engineer, and too often, this means the monitoring system is a bit of an afterthought.
Don’t neglect your foldback! Even 10 or 15 minutes of TLC can go a long way towards a smoothly running monitor rig. The artists will be happier, and less bleed and feedback means a cleaner house mix as well, which makes for an easier day all around.
Let’s look at some tips for quickly tuning up a monitor rig. The emphasis here is on prep and set-up rather than the mixing itself, and we’re focusing on festivals and other multi-act events. Why draw this distinction? Single acts have established and specified monitoring requirements, but with multiple acts sharing the stage, we need a flexible rig capable of accommodating an entire event’s worth of artists.
Laying It Out
A small event might have two downstage mixes and one upstage mix for the drummer, while a larger gig might have four mixes downstage, four upstage, and side fills. Often, the reality is that the mix allocation can be governed as much by the resources available as the artists’ requirements.
We may simply be stuck with what’s on the truck but I’d rather err on the side of having an unused mix or two than be scrambling to patch in an additional one at the last minute. It’s helpful to have two extra wedges (with long cables) “on deck” in the upstage corners to be deployed as needed. (I refer to these as “wild wedges.”)
Regardless of the number and placement, it’s critical to label and patch the wedges in a logical fashion. I’m going to be viewing the stage from front of house, so I number my mixes in ascending order, starting with downstage right to downstage left (left to right as viewed from FOH) followed by upstage mixes, stage right to stage left. Do what works for you but stick to it – there’s not much as humbling as adjusting the wrong mix, though we’ve all done it. Sketch the wedge locations on a dry erase board at FOH to keep them straight.
It’s also smart to clearly label each wedge so the artists and stage crew can identify which mix is being referred to. Some companies have custom printed magnetic labels or plastic colored refrigerator magnets. Gaff tape and Sharpie can work too – just take care not to block the HF driver.
It’s absolutely critical to observe the polar patterns of the microphones when placing wedges. Wedges go exactly behind cardioid mics, and 120 to 150 degrees off-axis for supers and hypers. Take the time to get this right, don’t just eyeball it – I have a protractor in my work box – because proper placement can improve gain before feedback by 10 dB or more.
Also, note the coverage patterns of the monitors themselves. On-axis should be the artist’s head, not elbows or knees (or the acoustic guitar’s sound hole). Lastly, labeling both ends of the cables driving the monitors can save your tail once chaos descends.
Outside The Box
I usually request that all the wedges be the same make/model. I need them to sound the same so I know that the artist is hearing the same mix as the one coming out of my cue wedge (hold that thought…).
The first thing I do is spray pink noise through each wedge, one at a time, to verify that patching and placement are correct. Gain structure problems and blown tweeters are easily revealed at this point. If one mix is significantly louder or quieter than the others, find out why. On at least one common digital desk, zeroing out the console does not reset any output patch delays or attenuation settings, so don’t take this for granted. I’ve been burned before.
I then check the wedges with familiar reference material, which readily reveals tonal/tuning issues and distortion. Again, if one wedge sounds different, find out why. In practice, this whole process – basically an “output line check” – is very quick, and reveals problems often enough that I wouldn’t dare skip it.


