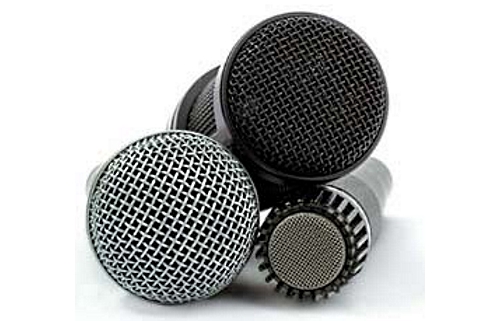
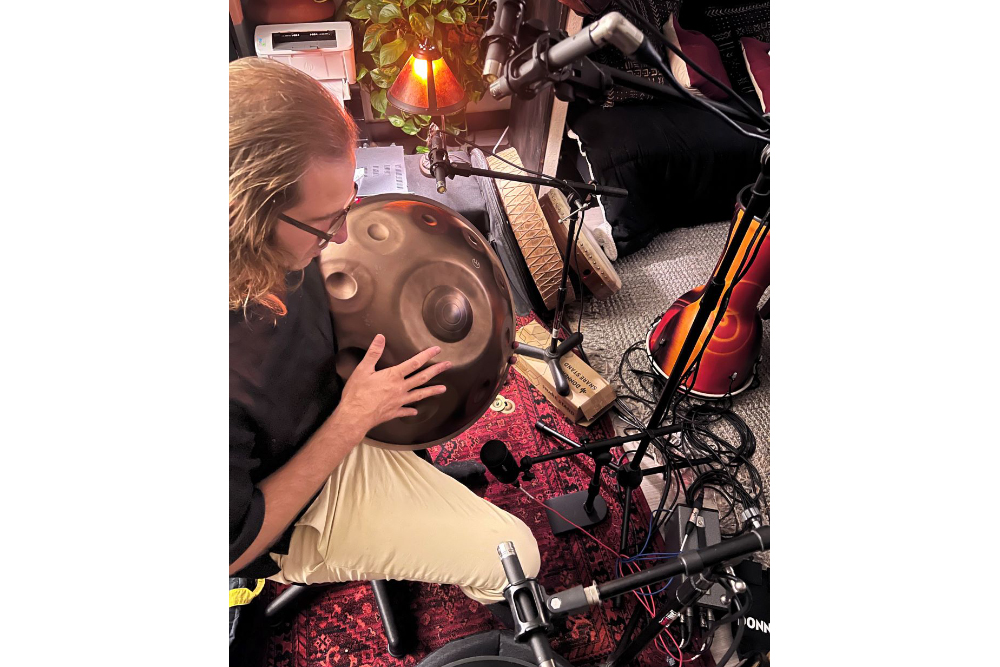
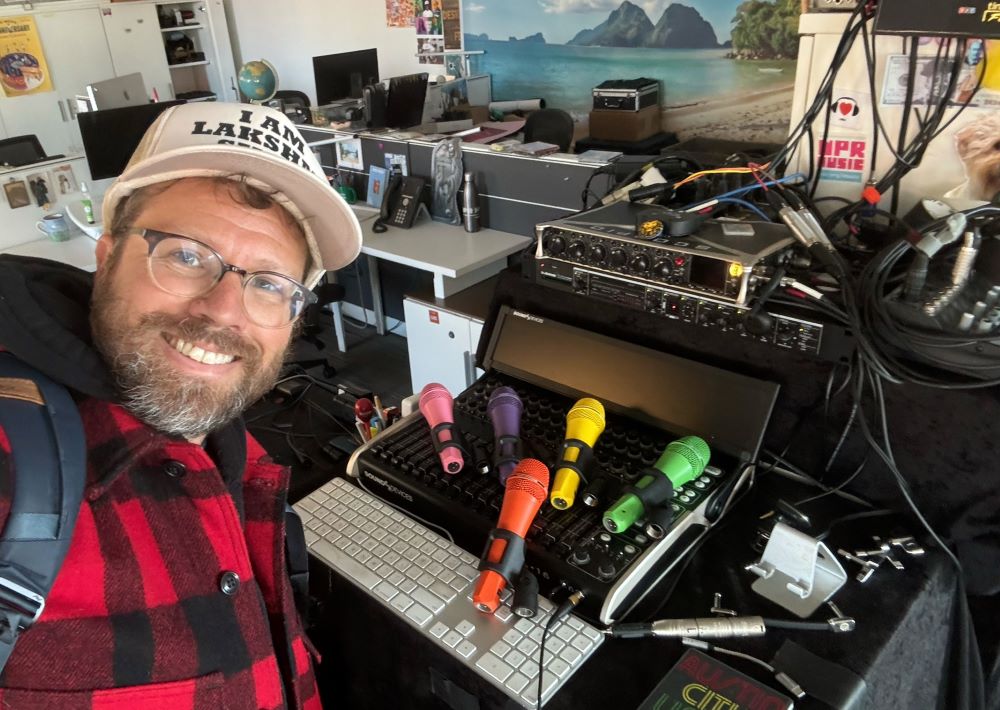
Besides sound quality, there really isn’t much to think about when it comes to microphones, right? Well, guess again!
Like all elements of a sound system, mics present their own unique set of special problems. Fortunately, a lot of these problems are relatively simple to solve. It’s just a matter of identification and appropriate action.
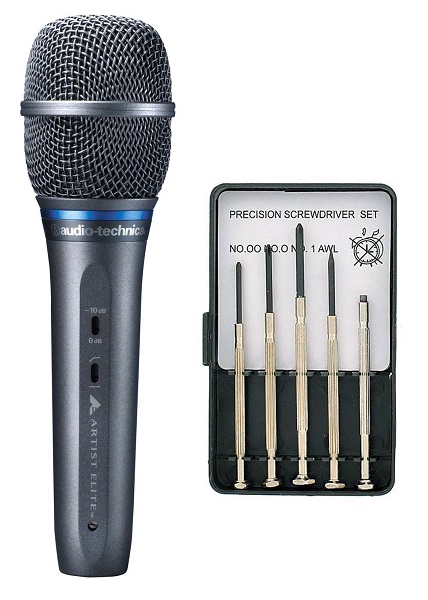
For example, most mic handles include a set-screw near the connector, with many models using this screw to ground the mic handle. If the handle seems to be picking up hum when touched, check that the set-screw is fully secured down (turn clockwise until tight).
Inside the XLR connector on a mic cable is a ground lug, offering option of tying it to pin 1 or leaving it floating. If this ground lug is connected to pin 1, the connector shell is grounded. Then, if the shell touches a grounded metal surface, a ground loop can occur, causing hum. So, a better approach is to float the shell.
Lighting cables and AC power cables radiate strong hum fields, which mic cables can pick up, so keep them well separated from lighting and power cables. If the cables must cross, do so at right angles to reduce the coupling between them. In addition, vertically separate the cables.
If your situation produces severe hum pickup when using dynamic mic models, try ones that include humbucking coils. In addition, twisted-pair mic cable can reduce pickup of magnetically induced hum. The more shield coverage, the less pick up of electrostatically induced hum. Braided shield generally offers the best coverage; double-spiral wrapped is next best, and spiral-wrapped is worst.
Also routinely check mic cables to make sure the shielding is connected at both ends. For outdoor work, tape over cracks between connectors to keep out dust and rain.
Shocking But True
At times, electric-guitar players can receive an electric shock when they simultaneously touch their guitar and a mic. This is caused when the guitar amp is plugged into an electrical outlet on stage, and the mixing console (to which the mic is grounded) is plugged into a separate outlet across the room.
These two power points may be at widely different ground voltages, so a current can flow between the grounded mic housing and the grounded guitar strings. This occurrence is especially dangerous when the guitar amp and the console are on different phases of the AC mains.
It helps to power all instrument amps and audio gear from the same AC distribution outlets. That is, run a heavy extension cord from a stage outlet back to the mixing console (or vice versa). Plug all of the power-cord ground pins into grounded outlets. That way, you prevent shocks and hum at the same time.
Also, put a foam windscreen on each vocal mic to insulate the guitarist from shocks. As a bonus, a foam windscreen suppresses breath pops better than a metal grille screen.
If you’re picking up the electric guitar direct, use a transformer-isolated direct box and set the ground-lift switch to the position with the least hum. Using a neon tester or voltmeter, measure the voltage between the electric-guitar strings and the metal grille of the microphones. If there is a voltage, flip the polarity switch on the amp or reverse its AC plug in the outlet.
Fun With Clip-Ons
Nearly all mic companies offer miniature condenser models. These tiny units can provide the sound quality of larger studio mics, but in a compact package.
If they’re clipped to musical instruments, stage clutter is reduced by eliminating boom stands. Plus, the performer can move more freely around the stage.
Because a miniature clip-on mic is very close to its instrument, it picks up a high sound level. So you can often use an omnidirectional mic without feedback.
Omni mics generally have a wider, smoother response than their unidirectional counterparts, and pick up less mechanical vibration.
Try mini mics on a drum set as described earlier. Tape an omni mic near the bottom edge of the sound hole, and roll off some bass for a natural tone quality. Tape one to a flute between the lip plate and finger holes, about 2 inches from the lip plate and 2 inches above the flute. It sounds much more natural than a pickup.
For a grand piano, tape two mini mics to the underside of the raised lid, over the bass and treble strings. If necessary, close the lid for more isolation. And, clutter can be reduced when using regular-sized mics by mounting them in holders that clip to drum rims and mic stands.
Squash The Squeal
Stage monitors are a main cause of feedback, so this is likely not the first time you’ve been told to keep monitor levels as low as possible.
Loud monitors leak into vocal mics, creating feedback in addition to coloring sound. Musicians always want their monitors louder, so start with them as quiet as possible, and then when you’re forced to increase levels, they probably (at least hopefully) won’t be too loud.
One-third-octave (or even narrower) graphic equalizers can also be deployed to fight feedback. Connect the equalizer between the console’s monitor output and the monitor power-amplifier input.
With the equalizer controls centered, set up a normal monitor mix. Now slowly turn up the mixer’s master monitor volume control to bring up the volume in the monitors. The system will start to feed back at a certain frequency.
Try to find this frequency on the equalizer by pushing down each control knob/fader in turn. The control that stops the feedback is the correct one. Lower this frequency only down to the point where the feedback stops. Then turn up the monitor volume until the system feeds back again (usually at a different frequency). Lower the control for that frequency until feedback stops. (Rinse, repeat!)
Do this procedure several times, turning up the overall volume as feedback is suppressed, so that three to five frequency ranges are cut. The monitors should now be able to be played louder without feedback than before the equalization process.
There are “feedback fighters” that perform this function automatically. In each device, a microprocessor quickly senses feedback and determines its frequency, then assigns a narrow notch filter to that frequency and eliminates the feedback. Typically, several filters are assigned.
Finally, many sound people have come to love in-ear monitoring (IEM) and personal monitoring systems because they don’t leak into stage mics. And, the resulting house sound can be louder and more natural.
One last tip: At a Lenny Kravitz concert, the piano player (Ken Crouch) was playing an upright piano. The piano sound was excellent, and I complimented the sound engineer, Tom Edmonds, on his skill. He later told me his secret: the pianist was really playing a Korg M-1 synthesizer mounted inside the upright piano, which was a prop!
It just goes to show that we just never know everything, and there’s something new to be learned every day.


