
“Aaaannd… Bass? Can I hear some bass?” Oh my goodness, I never ran that direct out.
We’ve all done it – after loading in and setting up, we start our line check only to find that we completely forgot to run that microphone cable or power up that stage monitor. After irritating and embarrassing myself one too many times, I decided to come up with a strategy to avoid similar problems in the future.
What follows is an adaptation of the personal procedure that I follow during load-in and setup to ensure that nothing gets left behind. Note that this applies regardless of the size and scope of the event as well as my specific workflow for it.
On the macro level, it’s very simple: output gear gets placed, powered, and then patched. Then the input gear follows the same three steps.
And We’re Off…
I begin by physically placing all the output-related equipment in the place that it’s going to be during the show. The process starts with main loudspeakers and subwoofers, then the front of house (FOH) console if it’s not already set up, and then moves on to stage monitors and any fills. This helps me visually define the space for the musicians on stage and allow me to start thinking about cable paths.
Step two is running power to all the devices that need it – AC power to FOH, plus any active loudspeakers or amplifier racks. Depending on the event, I may also run some drops for band power at this point, clearly labeled to differentiate them from audio system power.
I always start my cable runs from the power receptacle, so any extra cable gets dropped at the device itself. This ensures that it’s not a big deal if we need to move something later – a common occurrence for stage monitor wedges.
Step three is to cable up the outputs – again, starting from the patch point and moving to the loudspeakers.
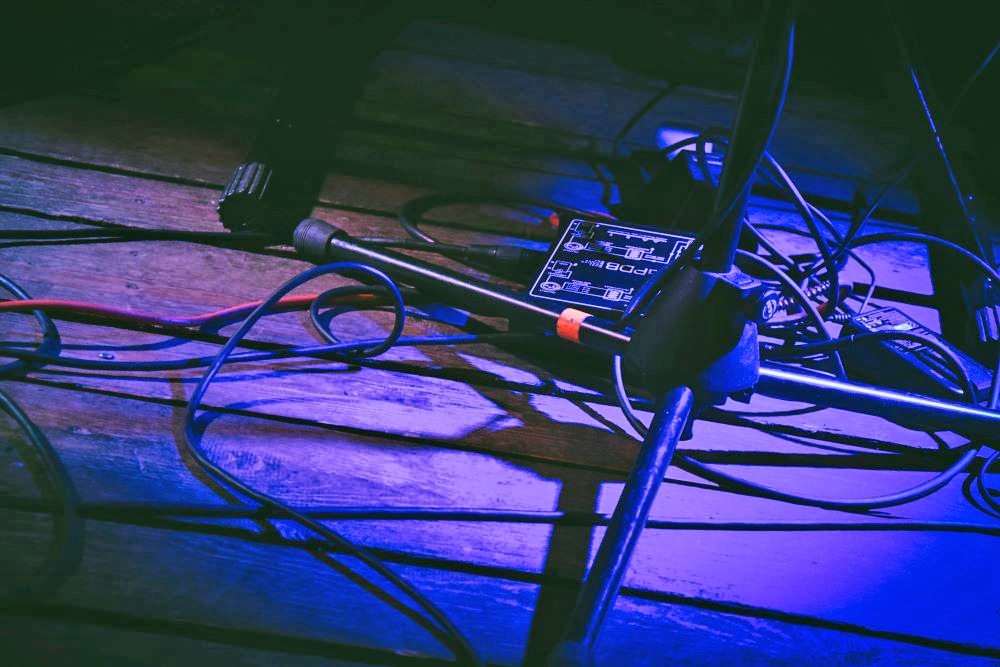
Although it takes a bit longer to do so, I use spike tape to label both ends of every single cable. This greatly decreases the odds of patching something incorrectly and makes troubleshooting much easier as well, which is a big deal if there’s a problem during the show and every second counts.
For any active loudspeakers being used, I check their rear panel configuration (attenuator, mic/line switch, onboard DSP, etc) as I connect the signal cable, and then switch them on.
At this point, I head out to FOH and run pink noise through each output in turn, starting with the mains and subs and moving on to the monitors and fills. I’m checking quickly to make sure each output from the desk is coming up where it’s supposed to, and then I make a second pass more slowly to check for consistency with level and tone – four monitor wedges of the same model should all sound the same, and at the same level, unless I’ve intentionally set something otherwise.
With all of this sorted out, I then play a bit of my reference music playlist through the system and perform any tuning/optimization that needs to be done. Even if it’s a simple “speaker on a stick” performance with no system processor, you can still check for stereo reversals, proper balance between subs and tops, and so forth.
Shifting Gears
Once everything is sounding the way it should, it’s on to the inputs.They follow the same process: First I place all mics on stands in their proper places. Most vocal mics have a small set screw near the end of the handle to hold the internal XLR connector in place.
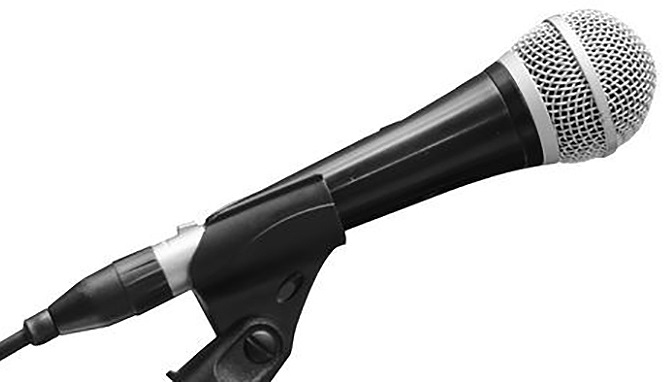
Unless a mic is not axisymmetric and needs to be rotated a certain way, I always set them on the stands so that this set screw points straight up. This means that when I run the XLR cables, the XLR connector latch will also be on the top of the connector so I can quickly click in cables instead of spinning things around trying to find the “pin 2 notch.”
Running the cables, I follow the same rules: label both ends of every cable, and run from the patch point to the mic, so there’s extra length available at the mic if (read: when) things get moved around on stage. The added bonus of checking all of the outputs before any inputs are set up is that any problems during line check can be attributed to the input side of the system, which dramatically speeds troubleshooting.
By this point, I should have a fully functional sound system – both mains and monitors – as well as all of the proper mics set up in the right spots, and all of the necessary lines run and patched.
Line check should be a breeze.