4) Address the “musical middle.” OK, what does this mean? In simple terms, all instruments (besides drums and vocals) should sound like “music” and they need to come together and “gel” in a musical way. Easier said than done sometimes. I’ve heard mixes where I can pick out the keyboard, guitar, bass, and a percussion loop in the tracks, but when it’s all happening at the same time, it just sounds like a big pile of instruments – and it doesn’t sound musical.
Worship music mixes, in particular, can be plagued by a lack of instrumentation between the drums and vocals. There’s a band playing but the mix is lacking a nicely blended middle between the “lead kick drum” and vocals. Live music is always a different experience than recordings but setting a goal to have the live versions of songs sound as full and polished as the recorded versions helps lead us in the right direction. Drums generate impact and excitement but the music in the middle is so important. Don’t bury the instruments providing the melody and key signature of the song for a louder kick drum and vocal.
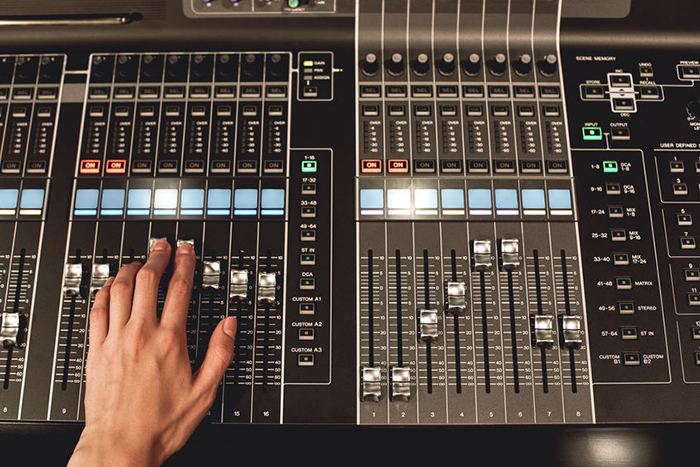
5) Vocals on top. I mentioned earlier that I usually start with vocals before I ever dive into drums, so let’s have another look at that. With a well-tuned and balanced PA, including a responsible amount of LF energy (avoid the bass tilt!), simply set a good preamp level on the lead vocal mic, turn up the fader and adjust the HPF to remove unwanted low LF clutter. I sometimes pull out a little extra low-mid (around 250 Hz) and maybe add a slight high-frequency shelf (around 5 to 12 kHz) – a boost to give it a little “air.”
Keep in mind when adding background singers that low-mid buildup can develop, so adjust HPFs accordingly, again paying attention to the 250 Hz region for excessive “mud.” It’s a top priority to clearly hear each word in the song so the worship experience is all it can be. The words may be on the video screens, but it’s extra joyful when you can hear them all clearly as well.
6) Add “album quality” effects (FX). The icing on the cake of any mix is well thought-out and applied FX such as reverbs, delays, choruses and/or harmonizers. When these tools are used properly, the mix can elevate from “garage band” to “Carnegie Hall” just like that. Here are a few tips.
• Shorter, denser drum reverbs offer more audible impact and less muddiness. I usually use two reverbs on the drum kit with varying amounts on the different parts of the kit. (A bit more on snare than on kick, for example.) One reverb is set with a short, gated preset (with a touch of high-end boost) while the second is a thicker hall or plate preset but still fairly short in length (maximum of 1.5 seconds of decay). Then I assign the FX returns to a couple of faders and work on a nice balance of the two on the snare to give it a professional finish. A small amount less on kick and toms, and the kit can take on a whole new life!
• For vocals, try a combination of reverb, delay and chorus (or harmonizer) with varying amounts, dependent on whether it’s a lead or background vocal. Harmonizers can be tricky – the effect should be enough to add some cool movement and depth to the vocal, but with just enough return level that it’s not obvious. Watch for low-end buildup with chorus effects. It’s a good idea to high pass the chorus/harmonizer return at about 80 or 100 Hz to keep the mud from building up. The same goes for reverb and delay FX returns.