Let’s face it — the live sound reinforcement realm presents some microphone challenges that regularly threaten sound quality.
Look at the conditions. The monitors feed back. They leak into the vocal microphones and color the sound. The bass sound leaks into the drum mics, and the drums leak into the piano microphones.
And then there are the other mic-related gremlins breath pops, lighting buzzes, wireless-mic glitches, and even electric shocks.
So let’s have a look at solving at least some of these problems. Based on the experiences of live sound mixers and technicians, these suggestions will help control feedback and leakage while also fostering a clean, natural sound for the audience.
Get In Close
The first tip is to try to get in close to sources with directional mics. To start, place each mic within a few inches of its sound source. Close miking increases the sound level at the microphone and makes the sound system louder.
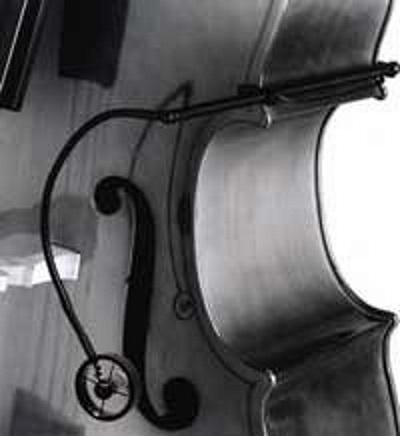
Use unidirectional mics to reduce feedback and leakage. They reject sounds to the sides and rear of the mic, such as floor monitors. Some examples of unidirectional patterns are cardioid, supercardioid, and hypercardioid.
Most directional mics boost the bass when you mic close. This is called the proximity effect. At low frequencies, it provides free gain (extra volume without feedback). If you want to roll off this excess bass with your mixer EQ, you also reduce any low-frequency leakage picked up by the mic.
Next, here’s an extreme way to get plenty of level into the mic: place the mic near the loudest part of the musical instrument. Some typical positions are near the sound hole of an acoustic guitar, in the bell of a sax, or inside the shell of a tom-tom.
Use this method as a last resort because close miking tends to color the tone quality, giving an unnatural sound. Here’s why: most musical instruments are designed to sound best at a distance (say, 1.5 feet or more away). So a flat-response mic placed there tends to pick up a natural or well-balanced timbre.
But when you get close, you emphasize the part of the instrument that the mic is near. The tone quality that is picked up very close may not reflect the tone quality of the entire instrument.

For example, the sound hole of an acoustic guitar resonates strongly around 80 Hz to 100 Hz. A mic placed close to the sound hole hears and emphasizes this low-frequency resonance, producing a bassy, boomy timbre that does not exist at a greater micing distance.
The close-miked sound is harsh, too. To make the guitar sound more natural when mic’d close to the sound hole, you need to roll off the excess bass on your mixer, or use a mic with a bass roll-off in its frequency response. Also dip out some 3 kHz to reduce harshness.
A sax miked in the bell sounds like a kazoo. To mellow it out, cut around 3 kHz and boost around 300 Hz. And if you can get adequate gain-before-feedback with mic positions that sound more natural, by all means do so.
Making Contact
Another approach is to use contact pickups in tandem with the mics, which can help solve feedback problems because it’s sensitive to mechanical vibrations, not sound waves.
A pickup for an acoustic guitar usually sounds good near or under the bridge. Unfortunately, the guitar sounds electric with a pickup because it misses the acoustic string sounds.
Many engineers have had success with a hybrid method that combines a pickup with a mini mic. A pickup mounted under the bridge picks up the lows and provides volume and punch. A mini hypercardioid mic is mounted just inside the sound hole facing in. It provides the treble and the clean acoustic string sound.
The pickup and microphone are mixed in a small two-input mixer provided as part of the system. The combination of the pickup and microphone provides a loud, punchy, yet natural sound with all the crispness of a real acoustic guitar.
It often helps to send the pickup signal just to the stage wedges (where feedback is worst), and send the mic signal just to the house speakers. Using as few mics as possible can also be helpful.
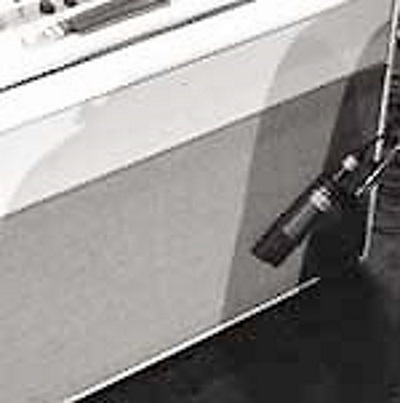
The more mics in use, the more likely you are to run into feedback. The gain-before-feedback ratio decreases 3 dB each time the number of open mics doubles. Two mics at equal levels have 3 dB less gain than one mic; four mics have 3 dB less gain than two mics, and so on.
To reduce the number of open mics, turn off any mics not in use at the moment. You might prefer to turn them down about 12 dB, rather than off, so you don’t miss cues. Instead of using 10 mics on a drum set, try using a single miniature omni mic in the center of the set. A mini mic is recommended because it has excellent high-frequency response in all directions unlike a larger microphone.
Clip the mic to the right side of the snare drum rim, about 4 inches above the drum, and centered in the set. It will pick up the toms and cymbals all around it. You’ll be amazed how good that single mic can sound. Boost the bass to add fullness. If the cymbals are too weak, lower them a few inches. You can hang another mini mic in the kick drum, and it will sound full because omni condenser mics have deep bass response, no matter what their size.
A drawback of this system is that you can’t control the balance among the toms and snare except by mic placement. On electric guitar and bass, try using direct boxes instead of mics. Direct boxes pick up no feedback or leakage. You can plug the direct box into a connector following the musician’s effects boxes. This method, however, misses the distortion of the guitar amplifier, which is often an essential part of the sound.
Cancel At Distance
Finally, try noise-canceling mics. A noise-canceling (or differential) mic for vocals is designed to cancel sounds at a distance, such as instruments on stage or monitor loudspeakers. Such a mic provides outstanding gain-before-feedback, and almost total isolation.
The differential mic was designed to cancel sounds beyond a few inches away. As a result, many users have reported that their house mixes have improved because the mic’s isolation is nearly complete. In other words, “Mic 1” is no longer vocals and some drums, guitar and bass; “Mic 1” is vocals only.
Singers must use a differential mic with their lips touching the grille; otherwise, their voice gets canceled. This restriction is not a problem because many singers already kiss the mic. But it can be a drawback if the singer likes to work the mic for effect.
A cardioid differential mic also rejects sound behind the microphone, say, from a floor monitor. Not only does this prevent feedback, it also reduces the sonic coloration caused by monitor sound leaking into the vocal mic.
Give these techniques a try, and you’re likely to find improved results by using one or more of them.


