
Depending upon how much of a purist you are, pitch correction is either the worst thing to ever happen or a godsend.
Regardless of how you come down on the issue, it’s at the very least a necessary evil in today’s music.
Here are five tips from the 4th edition of The Mixing Engineer’s Handbook that can keep your track sounding natural if you need to tune it up.
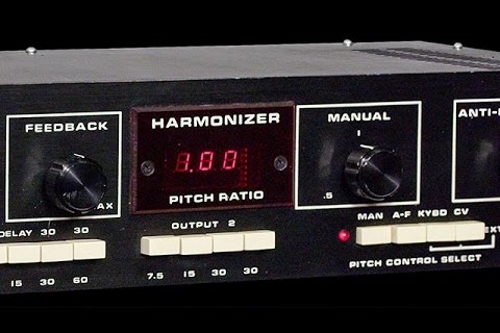
Tuning vocals has been done since way back in the early ’70s, starting with the first Eventide H910 Harmonizer. Primitive as it was, it did allow for slight pitch changes, although the digital artifacts that it imposed on the sound were quite substantial.
With every new model of pitch shift hardware that was subsequently introduced, the technology improved to the point where today there are some excellent plugins commonly available that would simply astound any engineer transported in time from back then.
There are three popular track tuning programs commonly in use: Antares Auto-Tune, Waves-Tune, and Celemony Melodyne, as well as less often used variations, such as Avid’s Elastic Audio or Cubase VariAudio.
Be aware that all tuning programs impart their own sound on the audio you’re tuning, and it might not always be pleasing, which is why many engineers own several different ones so they can compare which one sounds better in a particular situation.
Although the way pitch correction plugins are used is somewhat the same, there are a number of guidelines that are worth following:
1. Use the performance itself first.
Before you apply electronic pitch correction, exhaust all other remedies first to keep the performance as natural sounding as possible. These include vocal comping and copy and pasting phrases, words, or syllables from other parts of the song.
2. A little goes a long way.
The fewer notes you correct, the more natural the performance will sound. You’re much better off just correcting a few notes than attempting to correct the entire performance.
3. Use the Precision mode.
Most engineers avoid using Auto mode because it’s not precise enough for most applications, and as a result, it causes audible fluctuations that make the vocal sound like it’s tuned, which is usually not what you’re after (Cher and T-Pain aside). Use the graphical mode if the plugin has one in order to achieve the most precise tuning with the least amount of audible artifacts.
4. Don’t perfectly tune the vocals.
Even the best vocalists are never precisely on pitch, so if you tune it that way, it may sound unnatural. Getting the pitch within a few cents will sound more like the real thing, since it’s the variations and inaccuracies that make a human voice sound human.
5. Print the pitch correction.
Instead of leaving the pitch correction patched in as a plugin, you’re better off to print a corrected pass and use that vocal instead. This not only saves precious system resources, but it also eliminates any problems that might occur if the session is moved to a DAW with a different software version.
TIP: Generally, background vocals can get away with much more pitch correction than lead vocals without being heard.
You can read more from The Mixing Engineer’s Handbook and my other books on the excerpt section of bobbyowsinski.com.
Read and comment on the original article here.