Using different colors of vinyl tape, first tape a large visible area of the stage box so at a glace it’s saying “yellow is at the drum riser.”
Then apply a wrap of the same tape around each XLR connector (not too close to the actual end so as to interfere with plugging it into the snake).
With a Sharpie, write the number of the channel on the tape on the top and bottom. These are permanent markings, so it only needs to be done once – however, you might need to re-trace the numbers after about a year of constant use.
Electricity/quad boxes. Provide ample electrical outlets, of the proper rating, to each area of the stage requiring it. Don’t skimp here, better not to be caught off guard if an extra outlet is required.
And don’t forget to account for all of the bands performing on the stage for a given show. (Hint: With regard to “proper rating” – in general, the thicker the cable, the higher wire gauge it contains.)
Stage monitor cabling
This is the hardest area in which to obey the “go around” rule. Stage monitors placed upstage do require cable runs cabling across the stage.
For example, a bassist who stands upstage left and sings as well. The best solution is to run the monitor cable around the back of the stage to the drum riser, and then come up the side of the drum riser to the front corner, and from there, across to the stage monitor. Run the mic cable along this same path.
If bassist’s position is to the outside of the stage, then run the cable straight across from the side of the stage to the wedge. The idea is to cross the least traveled area of stage. If a high traffic area can’t be avoided, tape cables down securely once they’re in place.
Road cases
Once gear is on the stage, get rid of those dead road cases, stacked neatly and again, out of a high traffic path. If at all possible, get them off the stage completely.
Items like mic boxes that might be needed during a show should be placed nearby but out of the way.
Having said this, make sure you possible emergencies are covered – before stowing things away, take out a couple of extra mic stands, an extra extension cord or two, and several extra mic cables.
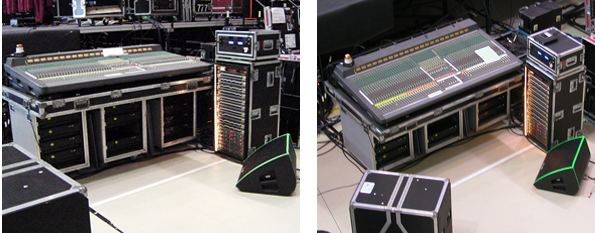
Monitor mix position
Stuff happens, as the saying goes, but the bottom line is that the engineer (and/or tech) must be able to get to all parts of the monitor rig as quickly as possible without stumbling over piles of cables, spare wedges or the ice chest.
A neat working area also promotes and conveys a professional attitude, which in turn prompts sharper focus on the job at hand. Take pride. Refuse to work amidst the trash.
Police the area and don’t let hangers-on use your monitorland for their trash. (They’re not going to clean it up later.)

