
The corporate world calls it “workflow,” and in audio, we generally call it “prepping the show” as well as “load in-load out” and “set up-strike.” But none of it is quite adequate in describing effective practices in our overall approach to every show.
In running a small sound company in Texas for almost a decade, it occurred to me that there might be a lack of information about how to go about these common yet vital aspects of working in sound reinforcement. A look around the internet pretty much confirmed this.
Another way to learn, if you’re lucky, is via more experienced professionals. Alas, many of us aren’t fortunate enough to receive the attention and guidance of mentors, or if we do, the experience is all too brief.
As a result, I’ve put together this overview of the practices and procedures I’ve developed over years of being a solo proprietor providing sound reinforcement to one-off gigs, local events and regional music festivals. This isn’t intended to be definitive, but it’s my hope that there are some ideas here that will benefit your own efforts.
Transport & Load-In
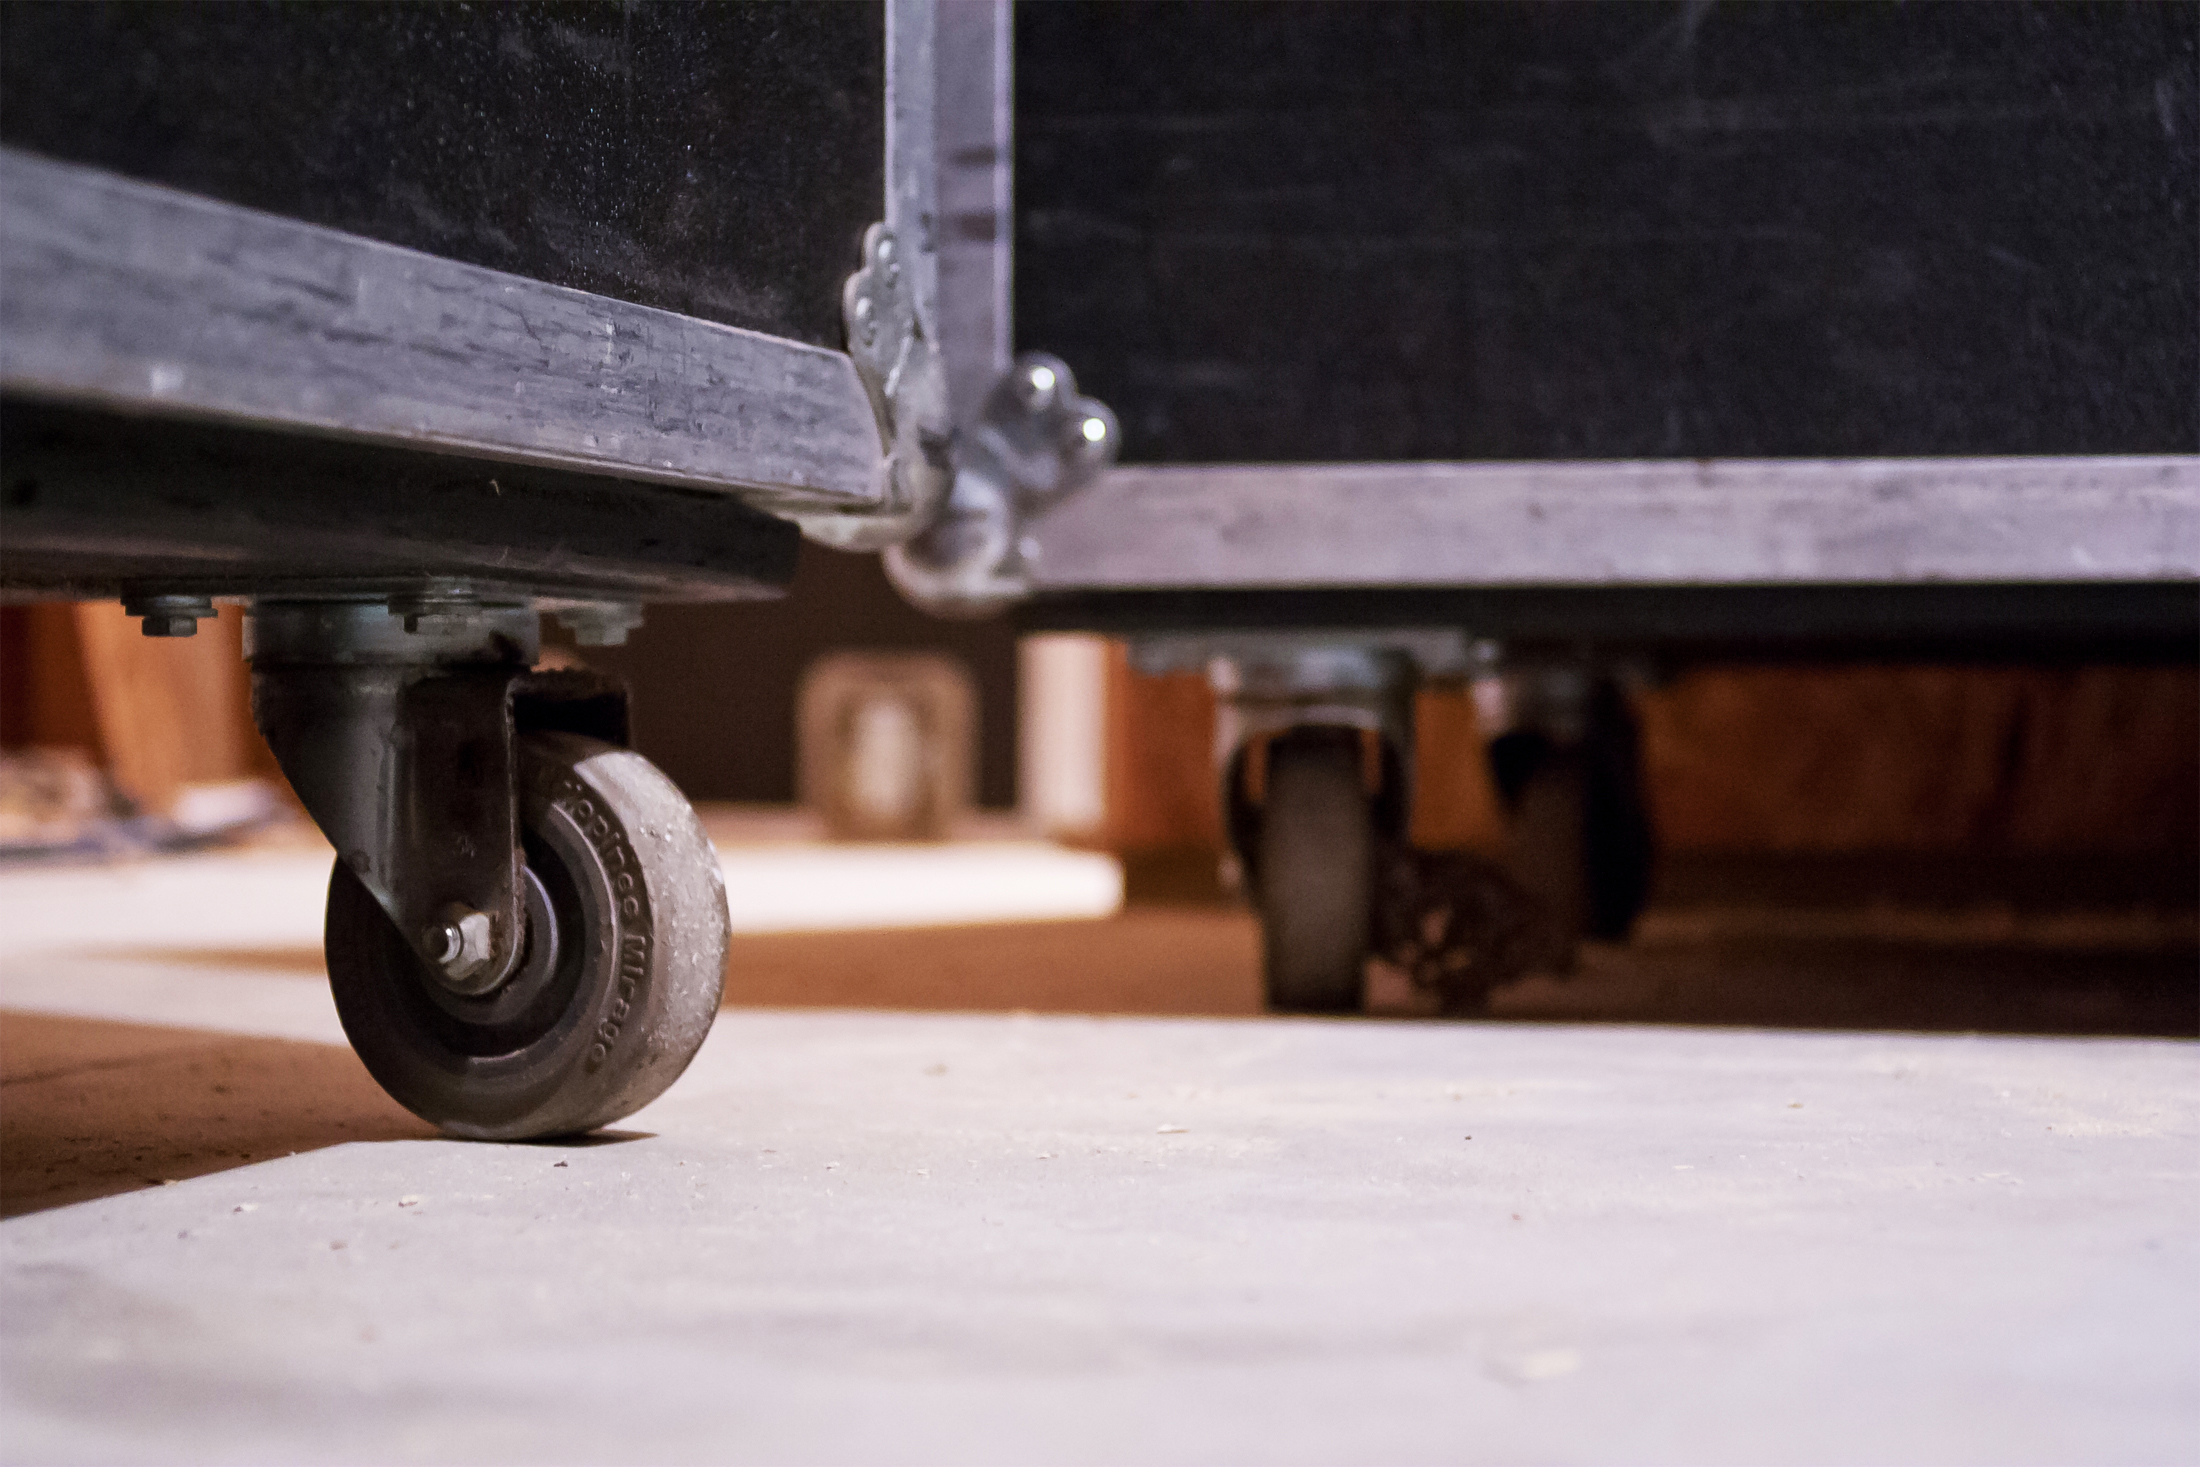
If you’re going to be hand-carrying anything into a venue – stop right now. Figure out a way to make it roll. Everything that goes into, and comes out of, my trailer rolls, whether it’s on a hand truck or in a road case. Just as we should be protecting our hearing, we have to take care of our backs and knees, or we won’t be around for long.
Now that everything rolls, build or buy a couple of ramps to make the rolling even easier. I have a folding 6-foot aluminum ramp, originally intended for wheelchairs, which is plenty strong for all of my needs yet light enough for one person to move easily.
My trailer doesn’t have a ramp-style door (I actually prefer it that way), so I’m able to use this ramp to roll everything from the trailer to the ground, or, more commonly, from the trailer straight into the venue or portable stage. Whenever possible, I look to back up to the venue door and lay the ramp over the threshold.
Inside the venue or on the stage, I use the same ramp to get items up on risers and to hop those pesky 2-step stairs that are inside so many multi-level facilities. Another 2-foot wooden ramp also comes with me for those times when I’m unloading on the street and have to hop over a curb to get to the venue. This little ramp is worth it’s weight in gold. It also helps give electronic gear a longer, happier life because it’s not being bounced over curbs and steps.
Most of the items in my trailer are placed according to weight. It needs to be relatively balanced, with most of the weight over the axle, but with at least a 10 percent bias toward the tongue. I recommend consulting the manufacturer or reseller of your trailer if you have any doubts about the load you’re carrying. Having said that, there are some things I like to pack in a particular order.
Locating the PA tops in the front of the trailer and the subs behind saves time. As the subs come off the trailer, they can be placed for the show right away, and then the tops come out directly and are stacked on the subs. (The reverse happens at the end of the night.) I also keep things like microphones, DIs and cables at the back of the trailer for easy access, particularly at smaller gigs – just open the door and grab what’s needed without having to unload half the trailer to get to it.
After arriving at an optimum trailer-pack strategy, with items arranged logically and weight evenly distributed, make a chart showing where everything goes and tape it inside the trailer. I use a simple graphics program to make the chart and keep the file stored on my laptop, so I can print out a copy for anyone helping me who is unfamiliar with how I want it done.
The chart also serves as a handy checklist to make sure I leave nothing behind. One other thing included on the chart is where the straps that hold everything in place within the trailer should be positioned.
Pre-Game Prep
When working a venue for the first time, I do everything possible to make a site inspection beforehand. This provides valuable information in a variety of areas, such as the electrical power situation, where snakes and subsnakes will run, the path from the loading area to the stage, the parking situation, and so on.
If I can’t physically get there before the event, I call the venue to ask about these things, and/or check with other sound company friends and bands that have worked the venue.
All too often at other shows that I go to, I see the main snake head placed next to the drums because that’s where the most inputs come from. This is not a good idea for several reasons.
First, it’s an eyesore. Having that mass of XLR right in the middle of the stage is ugly. And what happens if a bad cable needs to be replaced during the show? You have to go right to the middle of the stage, that’s what!
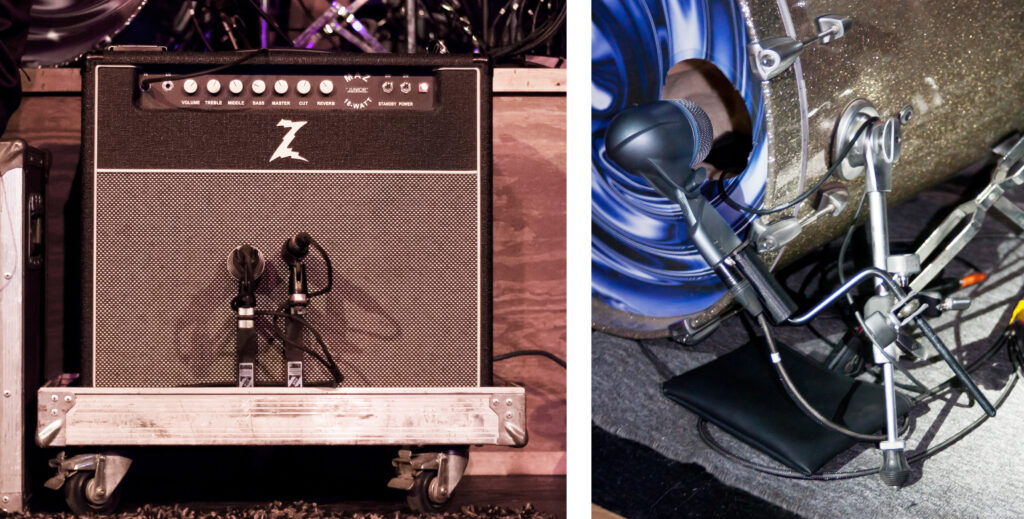
So put the snake head off to the side. I place mine with the power amplifiers, bringing all inputs from the stage to the snake via subsnakes. This is a convenient place to work from, plus I don’t have to get on my hands and knees to plug things in. It also keeps the cable mess out of the way, which improves safety and further cleans up the stage.
Definitions can vary, so to be clear, I define subsnakes as shorter 4- to 12-channel cables with an input head that accommodate short XLR cables from the actual input sources.

For a typical rock/country band, I usually run a 12-channel subsnake to the drum set, handling drum inputs plus any instruments that may be close by. I also put a 6-channel snake on the front line to handle any vocal and DI inputs.
Every once in a while, I encounter a keyboardist with four DI channels plus a vocal, so I run a subsnake right to those inputs. Larger stages sometimes call for a subsnake on the far side to take care of inputs “way over there.”
The message is simple. It’s better to have shorter cable runs on stage while keeping longer runs off the stage. It’s safer (less chance of tripping), and it’s cleaner. Providing a clean stage is professional and it gets you noticed – in a good way.
Fewer mic stands on stage further cleans things up. I use all manner of claws, clamps, hangers, and Z-bars in place of stands, and it’s also a benefit not having to buy and transport so many stands.
On a typical show, I take eight tall tripods, two short tripods, and one solid base “shorty” for a kick drum mic, and can’t remember the last time I used them all.
To speed set up time, ask the band at the outset how many inputs they need and where the players are going to be located. Because the drum kit is almost always the last thing finished, I start with vocals, then instruments next, and finally, drums.
Before the drummer is getting comfortable behind the kit, I’m already done with miking the rest of the band. With the subsnakes also laid out in advance, it’s just a matter of placing the drum mics and running short cables.
Showtime & After
The mix is the primary focus during the show, of course, but we should keep our ears open for specific issues such as subs that are being over-stressed, a buzz in a DI channel, etc.
It’s easy to get tunnel vision, so intent on the mix or specific aspects of it that other problems aren’t heard until it’s too late. In other words, don’t focus on getting that guitar sound “just right” to the exclusion of the whole.
If possible, walk the coverage area while the show is happening. It may sound completely different up front than it does back at the mix position, and it’s our job to make it sound good for everyone, not just ourselves.
I also try to get up to the side of the stage and make eye contact with each band member to make sure they’re happy with their monitors. A simple gesture like this can mean a lot to bands, and who knows, they might just give you a call the next time they need PA.
Right after the conclusion of the show, go to the stage to pull mics and DIs. These items have a nasty habit of “walking away” so get ‘em tucked away safely ASAP. Also pull monitors and stands, placing them out of the way to give the band more room to do their own teardown.
Cabling stays in place since band gear is most likely sitting around/over of at least some of it. Plus, if you start pulling cable with a bunch of people milling about, moving things and carrying loads, you might trip someone.
I then go pack up front of house, then unhook and organize amp racks and other cases, de-stack the PA, and then pull the main snake. Usually by this point, it’s safe to pull the remaining subsnakes and cables, typically standing next to where the main snake head was located, pulling everything toward me. And then it’s time to pack the trailer…which is where we started.
There’s just one more thing to keep in mind: drive safely as you make your way home or back to the shop. The goal is to do this all again tomorrow!


