Here are additional tips based on going through this process:
Sort resistors properly because they’re the easiest to mix up. Resistors aren’t polarized so there’s no need to worry about putting the right end in the right hole, just match the holes to the resistor values correctly. The transformer has a primary and a secondary, so take extra care to match the mounting holes.
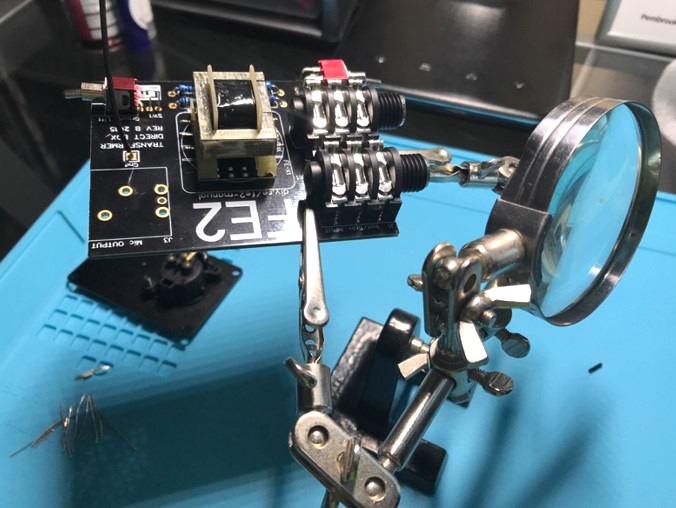
The FE-X1 is designed to have three holes on one side and four on the other, so it’s difficult to do this wrong. Other components, such as the switches and input/output jacks, are fairly obvious to place correctly.
Be careful about soldering the larger components that extend out of the metal case (like the switches, XLR jack.) I didn’t pay this as much mind as I should have, preoccupied about getting a rock-solid solder joint without taking into account that I’d need to squeeze those parts through the holes in the metal case for outside access. To fix this, I had to re-melt the solder while simultaneously trying to move the XLR joints so that when it came time to screw the case together, nothing would be warping.
While the assembly process can be done in minutes, take time to study each piece and really understand where the signal is going and how it’s changing as it travels through the circuit. The circuit board is actually quite appealing – very sleek, and all black. There’s a nice heft to it, and the silkscreen is clearly printed and easy to read.
In fact, the entire DI is beautiful in design and in build. Even the case feels well manufactured and solid. Every little detail has been taken care of, right down to the foam pad that sits on the bottom to keep the DI from sliding. I can tell the people at DIYRE care because it shows in their designs, their packaging and their product.
The End Result
Following assembly, I used an analyzer to compare the FE-X1 with two other DIs in roughly the same price bracket. It proved comparable with the mid-tired unit, providing nearly identical frequency responses, and THD was markedly better than a lower-tiered model from another manufacturer.
I also shook-tested the DI, roughly flipped the switches, and plugged cables in and out as quickly as possible to evaluate how the build would hold up after some roughhousing. The jacks never faltered, the switches stayed strong, and it never felt like anything was working its way loose. I then ran some test signals through it and plugged in my electric bass, both with great transparency. In fact, I ended up liking this DI so much that I’ve made room for it in my tool case.
I’m hoping that more companies get involved in DIY audio electronics. It’s good for engineers and techs to understand how their equipment works and there’s something special about hand-building it. I recommend giving one of these kits a try. In fact, I’m presently looking at the DIYRE ribbon microphone kit and headphone amplifier board. Check out the entire catalog at diyrecordingequipment.com.