A few more things to keep in mind:
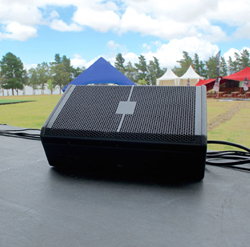
—Label all wedges and cable ends with their respective mix numbers. It’s more easily understood when a performer asks for something in “Mix 4” than just “in that box.” Also label all IEM belt packs with mix numbers and performer names so they don’t accidentally grab the wrong pack.
—Teach new performers basic hand signals so they can communicate their monitor needs to the audio crew during the performance instead of announcing their issues over the PA. Our method is to verify that the performer and monitor engineer make eye contact, then the performer points at what they want to hear, and then point up or down for volume. (You might be surprised by how many performers who’ve never used monitors before step on to our stages.)
—Adding a touch of reverb to the mix of an inexperienced performer can give them a confidence boost, lending a pleasant signature that’s akin to a karaoke machine with effects. (Just be sure to mute the effects when they talk.)
—Make and carry some “Acoustic Aiming Devices” (ADD). I’ve referred to these in previous articles, but simply, they’re small pieces of wood painted black that can be inserted under wedges to give them more tilt, putting the coverage pattern more firmly on the performers. (If they can’t hear it clearly, they’ll want more volume.)
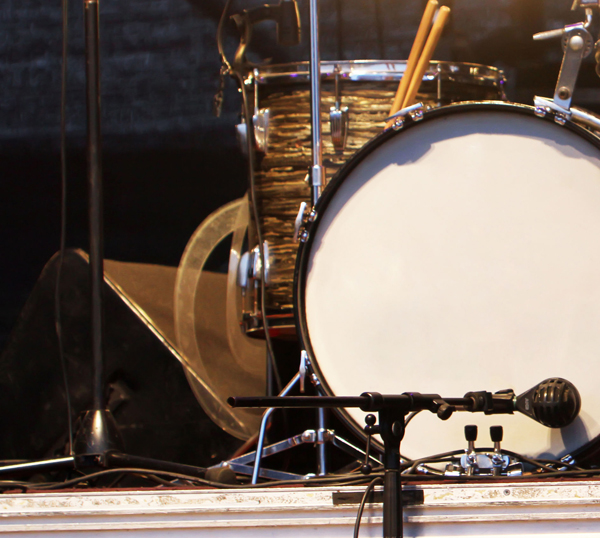
—Place wedges in the rear or side null of the mics. With cardioid mics, we place the wedges right behind them, while with supercardioid and hypercardioid mics, we place them off to the side at about a 45-degree angle in the mics null zone.
—Spend time ringing out the wedges. Most of the feedback problems on these type of gigs comes from the monitors not getting enough attention before the show starts.
—After the ringing out process, check the monitors with both speech from a mic and with music playback. During testing, turn on the mains and check out how the house system affects the stage sound, especially the output from the main subwoofers. (We often find that side fill subs aren’t really needed due to plenty of output – and spill on stage – from the main subs.)
—Embrace parametric equalizers. Not every problematic tone falls right on the center frequencies of a graphic EQ. Parametric EQ can deliver needed precision. It’s included on many digital consoles, or outboard units can be inserted.
—To tame a mic when no parametric is available, use the input channel EQ on the console. If the mixing is being done of the FOH console, split the input signal into two channels, using one for the FOH feed and the second for channel EQ sent to the wedges. If a splitter is not available, use the direct output of the first channel to feed the second.
—Roll off the low end on the wedges; don’t put extra low-frequency energy on stage that adds to the mush. We usually roll off everything under 80 to 100 Hz except for drum and side fills. For wedges getting nothing but vocals, we typically high-pass up to 150 Hz (and even more with female singers).
—Provide a talkback mic even if it’s a small stage. Communication is key, period.
—Noted before, but worth repeating: bring a backup gear, especially wedges, to the gig. Having an extra wedge comes in handy with announcers, guest artists and audience members brought onstage, as well as for talkback communication – and in case an IEM system decides to go south two minutes before the set is slated to start. (You know it happens!)
Senior contributing editor Craig Leerman is the owner of Tech Works, a production company based in Las Vegas.

