After mixing sound at worship services for more than three decades, and teaching dozens of others along the way, I’ve formulated these “10 steps to worship mix success” that have proven effective.
None of this is rocket surgery or brain science (or vice versa), but rather, a straightforward playbook that if followed will produce the results that you and other members of the tech team are seeking to deliver at every service.
And note that a lot of what I’ll be discussing is not about hands-on mixing. That’s because a great mix is the sum of a whole lot of components in addition to pushing faders and twiddling knobs.
Here we go…
1) Be Prepared
Being prepared means “being all there,” ready to engage and do our best. Sound checks and rehearsals can be tedious, but they present us with the opportunity to get off to the right start.
For example, it’s a great time to make sure all tools and “stuff” are available and accessible, right down to the board tape to label the console. And if you know you’re going to get thirsty, have a bottle of water handy ahead of time.
2) Make An Input List & Keep It Handy
Well before the first musician arrives, make sure that the console is labeled and that you know where every input is plugged into and patched to.
Along these lines, I’ve found that under pressure, my brain throws up the blue screen of death. Because of this I’ve learned to write things down. I also keep a pen in my pocket at all times, and if a piece of paper isn’t available, my original palm pilot (aka, my hand) becomes the notation point.
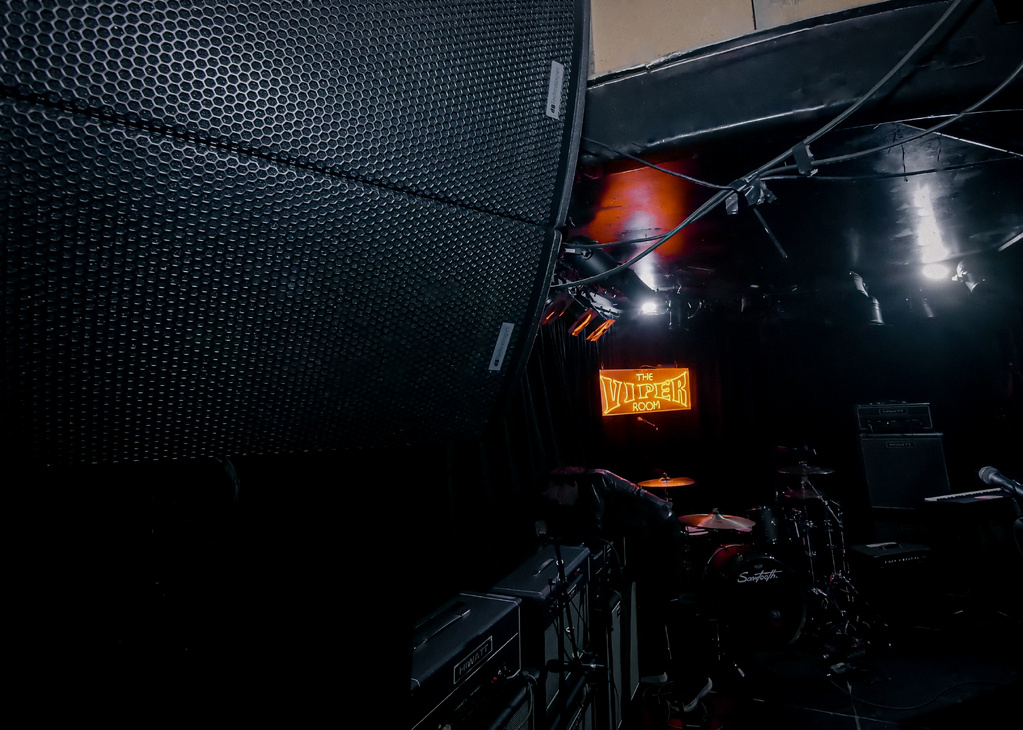
3) Stage Layout
The layout of the stage should be pre-determined with all equipment in place, including microphone stands, music stands (with stand lights if necessary), direct boxes, monitors, etc. Also make sure that all cables/chords are dressed and neat so that when the musicians arrive they will have plenty of open space to set up their equipment.
And note that if the drummer is bringing his own kit, have all of the mics for the kit ready and set about 5 feet in front of where the drummer will place the kit. If you’re using drum claws to hold the tom mics, set the mics in the claws on the floor (out of harms way from being stepped on!).
Make sure there’s electrical power at all necessary locations. And never assume that musicians will have extension cords, power strips or even the correct line cables to connect to a direct box. Also make sure that all cables needed are in place.
4) Line Check
Never skip a line check. Making sure that all mics and inputs are working, showing up in the correct channels on the board, and don’t have any hum, buzz, or other unwanted noise, is vital. I usually use my iPod with a 1/4-inch to 1/8-inch adapter to check direct inputs. Also, don’t forget to test all of the stage monitors to make sure they’re working and are also patched to the proper output on the board.
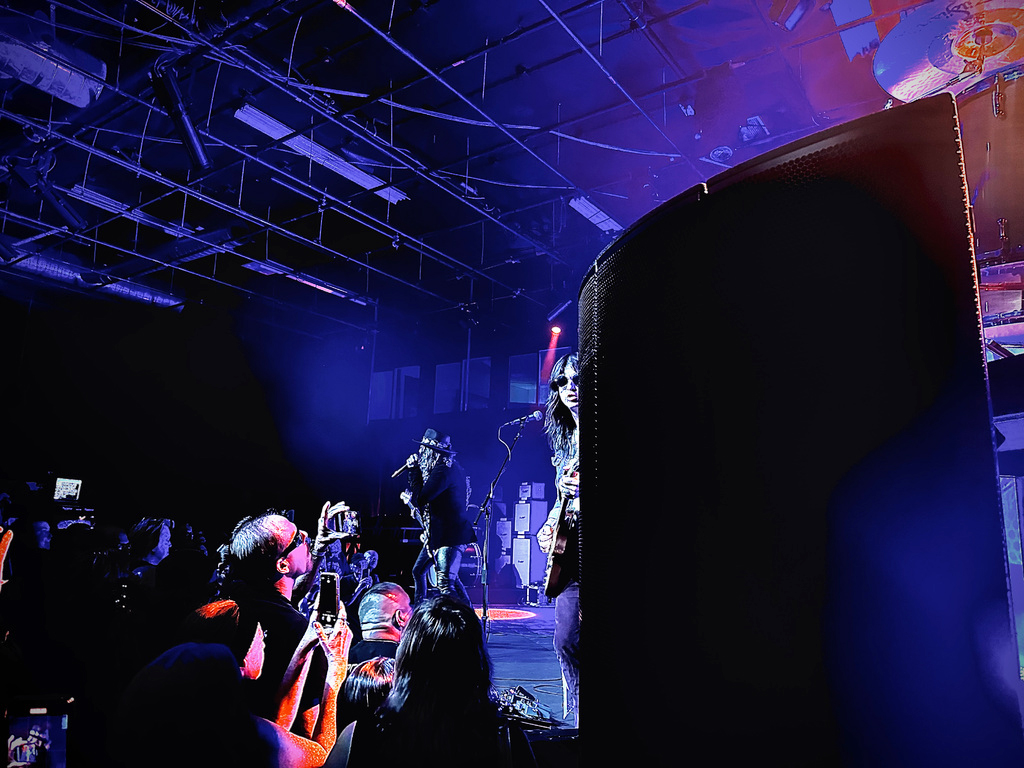
5) Proper & Efficient Sound Check
A sound check is not always the easiest or the most fun thing to do. However, when handled in an orderly and proper fashion, it can set the tone for the service. There’s often a debate of what constitutes a sound check and what makes a rehearsal; the lines between the two often get blurred.
To me, sound check is a 15-minute (or so) period with the band where I check input levels and do some initial EQ work. During that time I take the lead and control the flow. Musicians may provide input, but I’m in charge.
Following sound check, I turn over control of the stage to the worship leader who’s running the rehearsal. I can ask to stop or redo a section, but this is his time to get the band comfortable on stage.
It’s also a time when monitor levels are set and tweaked, and tweaked, and tweaked… Are musicians ever satisfied with the monitor mix? More on that later.
6) Sound Check With Each Band Member
During the sound check, also systematically go through each input on the console. I prefer to start with drums then move to bass (drums and bass are the foundation that I build my mix on), followed by keys, guitar(s), other instruments (sax, flute, etc.), and finally vocals. I also ask that all musicians stay on stage, ready to play.
This is important because it insures everything is working (and hopefully working properly), plus I can hear how certain instruments are going to interact and feel. For example, I always listen to the kick and bass guitar together. How I equalize the bass is dependent on how I equalize the kick drum. A word of caution though—keep the whole mix in mind when you sound check to help insure an optimum result.
When I first began running sound, I would spend about an hour on sound check, each musician playing separately for as long as it took me to get their instrument sounding rich and full. (It was usually a considerable amount of time.) And it was so “rich and full” that each player could do a solo concert. This was not helpful to the outcome—the musicians would get bored, restless, and anxious to warm-up and rehearse, while all of that individual work on my part did not translate to a good mix.
Thankfully, a veteran sound operator straightened me out, stressing that the way to approach the mix is by beginning with the end in mind. He also taught me how to EQ the kick and bass to be complementary rather than competitive—and that adding a 10 dB boost at 100 Hz on the kick, bass and keyboards was not the best plan to achieve a tight, chest thumping low end.
7) Musicians Happy First
This may seem rudimentary but it’s vital to understand that we and the musicians share (or should share) the same goal: to present inspiring music that sounds as good as possible.
Take the role of a gentle teacher when it comes to technical things. When the guitar player tries to use special 1/4-inch to XLR cable to plug the speaker out directly into the mic input, don’t yell the player. Yes, stop things ASAP, but then take a few moments to kindly explain why the mic preamp in the mixing console is not interested or capable of receiving such a high-voltage signal.
A simple way to cut the tension is to use a talkback mic. If your console is not equipped with talk back mic capability, simply plug a microphone into an input at the console and turn up the appropriate aux sends. If you don’t want the mic to go over the house system, set the auxes to pre-fade or unassign the input from any groups or master outs.
There is little that’s more frustrating and stressful than a mix engineer yelling from the booth to a musician who has no other option than to shout back. The simple act of using a talkback mic and speaking slowly and calmly into it will greatly reduce the tension and potential hostility.
A proper monitor check also helps. Start by asking all musicians what they want in their monitor mix before the rehearsal starts. After roughing in those settings on the console, have the band play through a song. Following that, all musicians should provide direction as to how they would like their individual mixes changed.
Next, allow the band to play through two to three additional songs without taking additional requests. This helps force them to be more precise in their requests while also providing the engineer with an opportunity to focus on the house mix. After each musician once again (in an orderly fashion) asks for monitor mix adjustments, that’s pretty much it. No further changes unless something drastic happens. Time to focus fully on the house mix.
8) Build The House Mix From The Bottom Up
If you take my approach of using a foundation of bass and guitar for the house mix, build it out with by adding the remaining instruments and vocals. But regardless of your favored foundation, finish it up, and if you’ve done a decent sound check, this should be a relatively quick and painless process.
Once I have all inputs up and going, it’s time for critical listening. My primary evaluation of a mix is based on the ability to identify each instrument individually, as well as appropriate balance between the elements.
During this process, get out of the booth, walk around and sit in several locations in the coverage area. Just don’t go too far in case you need to get back quickly for something urgent like a vocalist setting a wireless mic on a monitor wedge…
Getting out of the booth helps clear the mind and lets you really listen to what’s going on. In my evaluation, if I can identify each instrument and there’s good balance, I’m 95 percent of the way done.
From there it’s “finesse mode” and working a bit with compressors, gates and effects. A word of caution here, if you’re at 95 percent with the mix, less can be more. Sometimes there’s a tendency to over-mix, and it can spiral out of control pretty quickly.
9) Affirm Musicians Through Your Attitude
Most of how sound operators are perceived comes from their attitude toward musicians. A worship leader that I work with on a regular basis once told me, “If I look up and see the people in the booth looking relaxed, having fun and worshipping along with us, I know the mix is sounding great.”
Also try to make it a habit to give a word of praise and/or encouragement to at least one of the musicians after a service. Even if it’s just a “hey, thanks for playing today,” doing this tells them that you’re engaged with what they’re doing, reinforcing that what they’re doing matters and that you care.
10) Plan On First Song Being 3 dB Hotter
After a good sound check and rehearsal it’s tempting to think, “All right, this is auto-pilot from here on out.” Don’t mislead yourself. Yes, you’ve set up yourself and the band for a win. Yes, you’re prepared and ready to go.
That last song of the rehearsal sounded spectacular and you’re still thinking about it. Now the service starts, there are people sitting in the seats, and the pastor has just amped everyone up with his opening. The musicians naturally sense the energy and excitement in those words and guess what? They all play louder and with more intensity!
And all of a sudden that nice 85 dBA level you had during rehearsal jumps to 90 dBA and you fear that if the drummer hits his crash cymbal any harder it will break. This is natural, and don’t blame the musicians. Appreciate the energy they’re bringing to the worship time — just be prepared for it. Usually I turn down the master faders 3 dB right after rehearsal in anticipation of the “big boost” with the first song of the service.
There you have it. Again, nothing over-the-top complicated or mind-blowing, but a path that if followed will take you where you want to go.