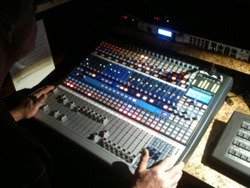
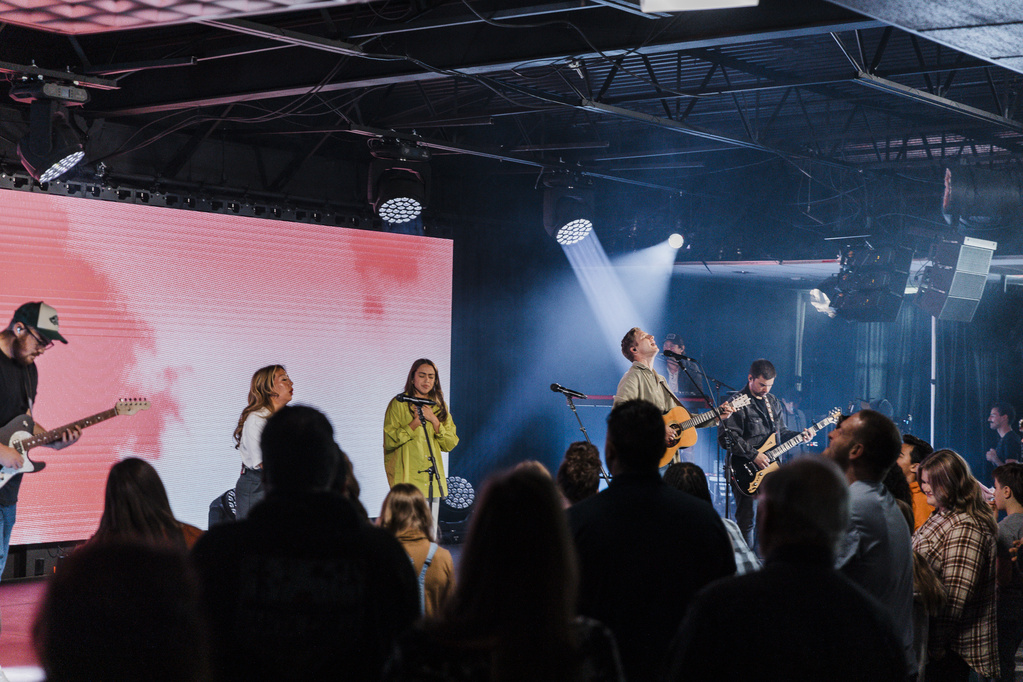
While there is no truly defined industry standard in laying out the channel assignments for live sound, there are general layouts that a lot of live audio veteran engineers utilize with minor modifications.
Typically when laying out channels, the process begins at drums, and then, in order, keyboard, acoustic guitar, electric guitar, any other instrument not covered, and finally, vocals. Put recorded stuff like CD/DVD players, iPods and computers at the end.
Within that general guideline, below are some more specific layouts that I use. For additional inputs that are outside of what’s listed, I place them into the corresponding sequence and shift the remainder of the channels down. For example: With two kick drums, use channel 1 and 2. Mic’ing a snare with a top and bottom mic would mean putting the snare in channel 3 and 4, and etc.
The following layouts are ones that I’ve standardized on and they work well—at least for me.
32 Channels
1 – Kick Drum
2 – Snare
3 – Hi-Hat
4 – Hi-Tom
5 – Mid-Tom
6 – Lo-Tom
7 – Stage Right Overhead (Stage right means looking at the left side of the stage from the audience/sound booth perspective.)
8 – Stage Left Overhead
9 – Percussion 1
10 – Percussion 2
11 – Keyboard L
12 – Keyboard R
13 – Synthesizer L
14 – Synthesizer R
15 – Acoustic Guitar
16 – Electric Guitar 1
17 – Electric Guitar 2
18 – Vocal 1
19 – Vocal 2
20 – Vocal 3
21 – Vocal 4
22 – Vocal 5
23 – Choir Stage Right
24 – Choir Stage Left
25 – Pastor Mic
26 – Handheld Mic 1
27 – Handheld Mic 2
28 – iPod L
29 – iPod R
30 – Computer L
31 – Computer R
32 – Spare
Group Assignments
1 – Kick/Bass
2 – Rest of Drums/Percussion
3 – Keys/Synths
4 – Rest of Instruments
5 – Vocals Except for Pastor and Handhelds
24 Channels
L and R configurations go to mono to save channels.
1 – Kick Drum
2 – Snare
3 – Hi-Hat
4 – Hi-Tom
5 – Mid-Tom
6 – Lo-Tom
7 – Stage Right Overhead
8 – Stage Left Overhead
9 – Percussion
10 – Keyboard
11 – Synthesizer
12 – Acoustic Guitar
13 – Electric Guitar 1
14 – Electric Guitar 2
15 – Vocal 1
16 – Vocal 2
17 – Vocal 3
18 – Vocal 4 or Choir Stage Right
19 – Vocal 5 or Choir Stage Left
20 – Pastor Mic
21 – Handheld
22 – iPod (Mono)
23 – Computer (Mono)
24-27 – Spares
Group Assignments
1 – Kick/Bass
2 – Rest of Drums/Percussion
3 – Instruments
4 – Vocals
16 Channels
1 – Kick Drum
2 – Snare
3 – Hi-Hat
4 – Overhead
5 – Percussion
6 – Keyboard/Synthesizer
7 – Acoustic Guitar or Electric Guitar 1
8 – Electric Guitar 2
9 – Vocal 1
10 – Vocal 2
11 – Vocal 3
12 – Vocal 4 or Choir Stage Right
13 – Vocal 5 or Choir Stage Left
14 – Pastor Mic
15 – Handheld
16 – Computer
Group Assignments
1 – Kick/Bass
2 – Rest of Drums/Percussion
3 – Instruments
4 – Vocals
Depending on the size and liveliness of the room, I don’t have a problem with going down to two mics on the drums. A kick mic and a quality overhead condenser mic placed in the right position will pick up the majority of the drum kit.
Now if you’ve got a drum cage, you’ll get better sound by mic’ing all the drums individually—but it does eat up channels.
I’ve used this setup for years after seeing it on some of the touring productions. I’m not suggesting that this is the perfect layout as there are variations, and if your board layout is different and works for you, then by all means stay with it. Don’t change just for the sake of change.
For digital boards that operate in layers, you may want to arrange things depending on the number of active fader channels that are in use at any one time. So if your faders are in layers of eight, try to make sure that you keep like items together without spanning layers (if possible).
Also with a digital mixer you definitely want to use the groups/DCAs/VCAs as your major controls, with the individual channel faders as your fine tuners. This way you’re not driving yourself nuts hitting the active layer button just to get to a specific channel during the performance.
I don’t really know the origins of this setup or why it became popular. To me it feels like a logical and natural layout. As usual, your mileage may vary!
Brian Gowing has helped over 30 churches meet their technology requirements. Brian works towards shepherding the church, analyzing their technical requirements, sourcing the equipment, installing the equipment and training the volunteer personnel. As he likes to say, “equipping the saints with technology to help spread the Good News.” Contact Brian here.


