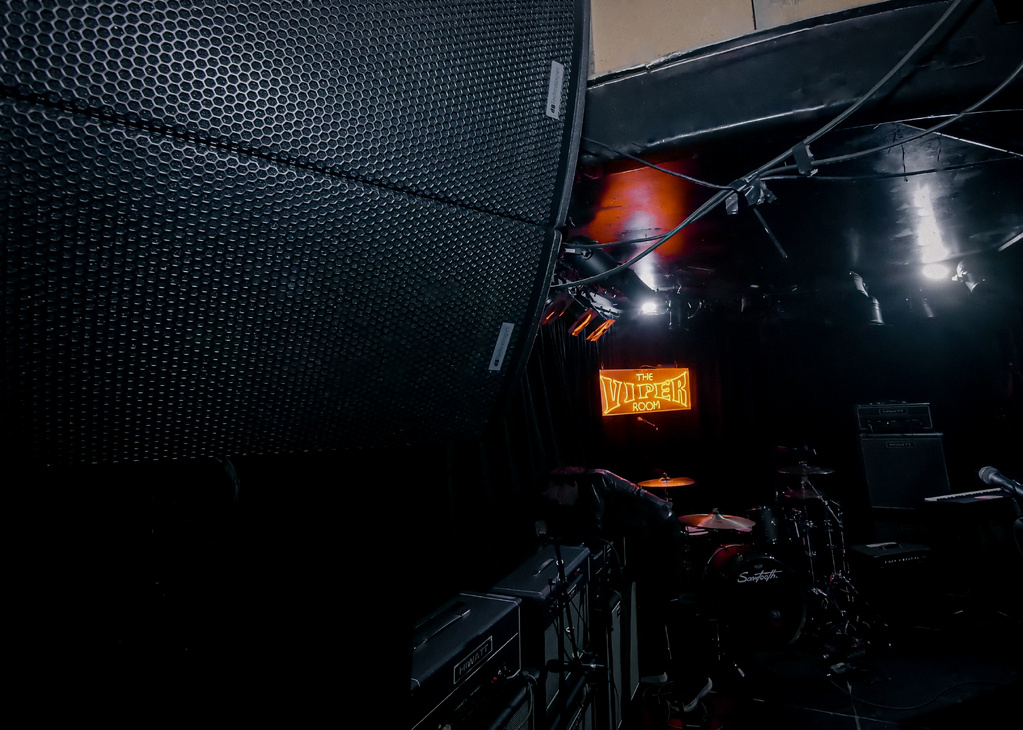

It was a mix engineer’s nightmare. Vocal microphones for singers were spread out across console channels 2, 7, 10, and 13.
To make matters worse, they were labeled across as C, A, D, and B – not even in alphabetical order. The rest of the channel assignments were no better.
I wept. (Not really but I felt like it.) What better way to guarantee frustration and a slower mixing process?
The tech at the church in this example had employed a method many use when new to live audio production – assigning channels in an order matching where things are located on stage.
Though this might seem to make for a speedy way of finding a channel, there’s a far better way.
The best console channel layout approach makes channels easy to find, easy to control, and easy for the next person to use the board. No matter how the stage is set – and musician placement will change – it shouldn’t require channel reassignment.
Think of it this way: when a pianist reaches for a key, he doesn’t hesitate because the key might have been moved. In the same way, reaching for the snare channel on a console should be as effortless.
Logic To The Process
The standard order of channels is; drums, bass, rhythm instruments, piano and keyboards, percussion and other instruments, lead vocal, backing vocals, choir, pastor, extra speaking microphones, and finally, playback devices (CD, DVD, or audio feed from the production room).
My personal preference is to have empty channels after rhythm instruments and backing vocals. This enables adding a channel if the band grows or a guest musician or band comes in and extra channels are required.
Drums have a specific order: kick, snare, hi-hat, tom 1, tom 2, tom 3, overhead left, and overhead right. Where a mic isn’t used, don’t leave a space, so a minimal drum miking setup could be kick, snare, and overhead. An alternative drum order is by frequency (low to high); kick, tom 1, tom 2, tom 3, snare, hi-hat, overhead left, and overhead right. The overheads are capturing everything, but for channel assignment purposes, having them at the end makes the most sense.
Rhythm guitars are arranged by type, so a large band might have acoustic 1, acoustic 2, rhythm electric, and lead electric. Specifying lead and rhythm is great because when the band changes and different musicians take the stage, the channels are routed according to their role. Need to boost the lead guitar? Not a problem.
Guitarists can change roles within a song or within a song set and it’s up to the engineer to decide how to label these. Using digital scribble strips and scenes, labels can change per song. My preferred method is to identify the guitarist who plays lead the majority of the time and label that one as “Lead.” Then, it’s a matter of knowing the song arrangements come mix time.
Piano and keyboards come next. Keyboards can be set for a variety of uses, from melody lines to synth pads. When a musician dedicates keyboards to these uses, label them accordingly for easy mixing.
This is followed by extra instruments, from percussion instruments to violins to whatever else is used. Order these by usage popularity. For example, a band with a regular percussionist and an occasional violinist would have channels assigned from left-to-right, with percussion and then violin.
Now we arrive at vocals (singers), and the lead is first. For churches, I place the worship leader in the first slot position and label it “WL” (Worship Leader).
I’ve had many occasions when the worship leader does not lead a song but will speak when transitioning between songs. Also, this channel will be excluded from mute groups – more on that shortly. All other vocal channels are labeled with the singer’s name.
Choir mics are best listed by their order on the stage. And while it’s easy to think all choirs mics should be set with the same gain, fader level, and EQ, that’s usually not the case. Bass singers might be all on the left side, while sopranos could be off-center. Whatever the situation, using the stage order aides in providing a proper choir mix and easy tweaking. (Trust me on the tweaking.)
Pastor mic labeling can go a few ways. If there’s one pastor, the channel can be labeled with the pastor’s name or as “Pastor.”
On analog consoles, I use the generic term, but on digital consoles I use their name. All other speaking mics should be listed next. If there’s a dedicated spare microphone, place it at the end of this section. Remaining channels will be assigned to input devices and can be listed in alphabetical order, nothing complicated.
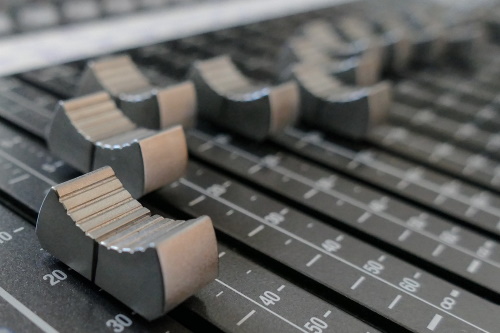
Mix Groups
Once all channels are assigned, these channels can be assigned to mix groups which allow for easy control over multiple channels like boosting a balanced drum mix, adjusting backing vocals, and making other mid-song adjustments.
Create mix groups for drums, keyboards, guitars, and backing vocals. If there’s a percussionist with several mics, add a percussion group. I add the bass guitar to the drum group because I don’t want the bass to disappear if I boost the drums. Another option is to add a low-end group just for the kick and bass.
Mix groups for backing vocalists need to be adjusted when the lead singer changes. With the scenes provided by digital consoles this is easy. With analog consoles, I put all singers (lead included) into the vocal group and make sure to tweak the channel level balance between songs.
Mute Groups
An open mic at the wrong time can be disastrous and muting all of the required channels can be a chore in itself. I’ve seen a sound tech muting channels when the band was leaving the stage but the guitarist unplugged before their channel was muted. Pow!
Mute groups provide the ability to mute multiple channels at the same time. Assign channels to mute groups in much the same way as mix groups with a few exceptions. Keep the pastor and worship leader out of mute groups. A worship leader may lead the congregation in communion or be the last voice of the service while the rest of the band is exiting the stage. Much the same can be said of the pastor.
Mute groups and mix groups are especially helpful with digital consoles that use channel layers (banks), such as when a console has 24 channels but only 12 faders. The less jumping between layers, the better.
Upholding Standards
Use this standard channel layout and mixing will become much like playing a piano – reaching for channels instinctively rather than hunting and pecking. In cases where there’s an audio team, make this standard layout mandatory. Not only does it improve mixing speed and provide added controls, but when a sound tech calls in sick (not like that ever happens), another tech can step in and not miss a beat.
I’ve been called at the last minute to mix an event, and a standard channel layout made my job easy. But I’ve shown up with the console in complete disarray, making my job so much harder.
Before embarking on this process, review the console for channel layout, mix groups, and mute groups. It might mean a few changes must be made or it’s time to start from scratch. Whatever the case, it will lead to easier mixing and bring order to an aspect of mixing and sound operation that demands it.