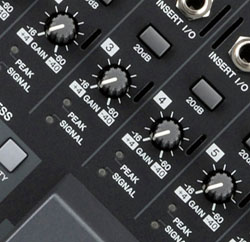

Both analog and digital mixing consoles have an input gain control ahead of the channel fader.
The gain control’s job is to scale the input signal to an appropriate level. It’s setting is source-dependent, which means that proper setting requires a sound check that includes the vocalist and their respective microphone.
There are three variables in play:
1. Talker level
2. Microphone sensitivity
3. Talker-to-microphone distance
It’s not always possible to set the input gain in advance, but there is a simple method for “ball parking” the setting without the “talent” being present. I use a small, battery-powered loudspeaker with internal pink noise source (Figure 1).
Note that the ATI Audio NG-1 shown in Figure 1 has been discontinued, but an alternative is the Talkbox from Bedrock Audio. An iPod and Bluetooth speaker can also be used but must be calibrated first.
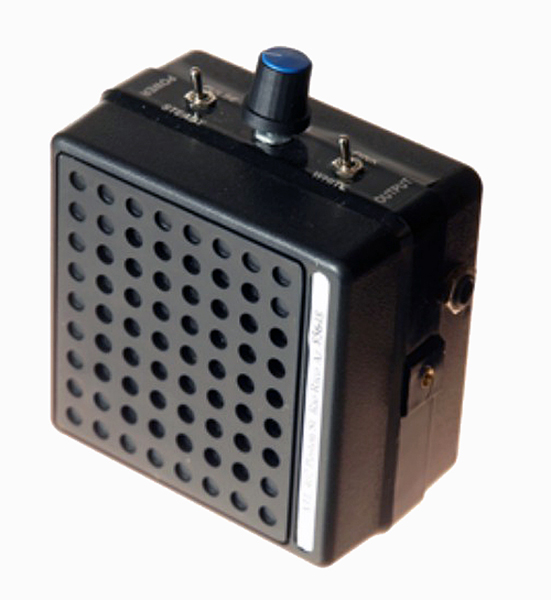
This device provides an acoustic reference level, and when maxed out, produces about 70 dBA-Slow at 1 meter, which is about the level of a “raised-voice” talker.
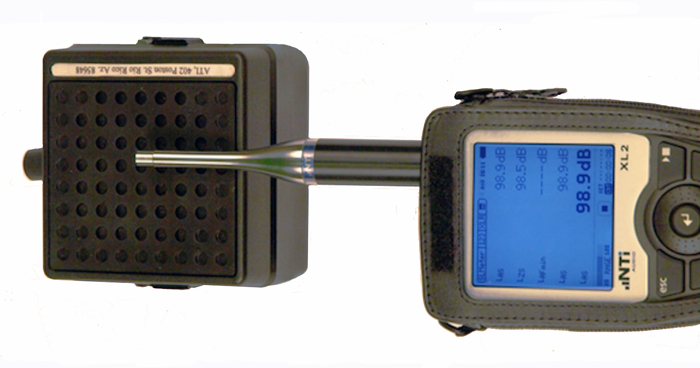
The level at the grill is about 100 dBA-Slow (Figure 2), which would be about the level of a raised-voice talker with their lips on the microphone.
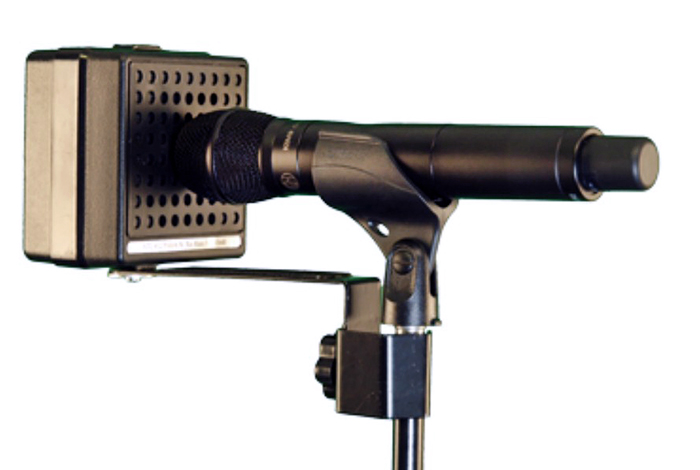
1. Place the vocal mic against the grill of the reference source (Figure 3).
2. Set the channel fader and main fader to the desired setting (usually at or near “zero”).
3. Adjust the input gain of the mixer channel to a strong reading on the mixer’s main meter, allowing some “summing room” for the other channels that will be added to the mix (about 10 dB is usually sufficient for mixes of 12 channels or less).
4. Repeat for the other vocal microphones.
I now have the input gain “roughed in” for a raised-voice talker with their lips against the mic. Now, we all know that the level presented by the talent will be different than this. If the level is lower, advance the input gain a bit to compensate. If the level is stronger, reduce it a bit.
Since a reference has been set, the input gain is compensating for the difference between “raised-voice” and “actual.” It’s much faster and less obvious than starting from scratch with a dead microphone. This technique is especially useful for wireless mics, since there are gain structure considerations ahead of the mixer.
I recently mixed for a local school play that used a pool of wireless mics of differing brands and types. Here is what I did to setup each microphone.
1. Place the mic against the grill of the reference source.
2. Adjust the transmitter to produce the desired signal level at the receiver (yellow on the receiver’s meter) (Figure 4).
3. Adjust the mixer’s input gain as described above.
4. Repeat for each wireless microphone.
This optimized the gain structure of the wireless system, and produced the same level into the mixer (post input gain) from all of the wireless systems (a potpourri mixture of Shure and Lectrosonics wireless systems with three different types of head-worn mics), including handheld and headworn units. Now any mic could be handed to any performer, and the input gain of the mixer quickly tweaked to compensate for their actual level relative to the reference.

To finish the system gain structure, I played a music track to “meter zero” on the console and adjusted the amplifier levels (in this case, powered loudspeakers) for the desired SPL in the house. Remember that meter zero is approximately what the multiple channels will sum to with all mics in use.
Of course, there are other ways to get there, but getting levels in the ballpark using a reference acoustic source greatly simplifies system setup.


