Step 4 – Naming and Export
Now that each sample has been edited into it’s own discrete audio clip it must be named and exported as an individual audio file.
Every software is different, but in general the non-destructive editing process used by most audio software creates clips (or regions) when editing, not audio files. In short this means that each of the audio clips you’ve just created during the editing phase is not an individual audio file on your hard drive. In order for the samples to be loaded into most samplers they must first be converted into actual audio files.
First convert each audio clip into an individual audio file. This process will differ slightly between software so you may need to do a little research on your particular software.
In Pro Tools this is done by selecting each clip and choosing the consolidate option under the edit menu. Once all the audio clips have been converted into individual audio files rename them using a consistent naming scheme.
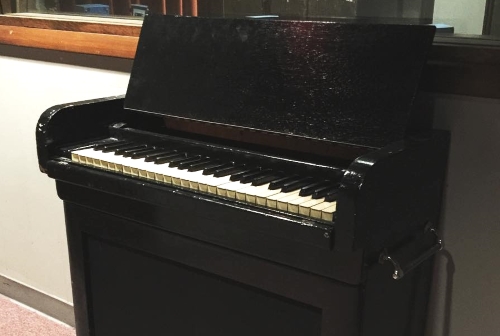
For the Omega Studios’ Celeste Pack I named each sample starting with the instrument (celeste), followed by the note name (ie: C3), and the dynamic level (soft or hard). For example, the soft dynamic for the second F# note I sampled was named “Celeste_F#2_Soft”.
Once all the samples are appropriately named export them all to one folder on your hard drive.
Step 5 – Programming
This is the most rewarding phase of the process because you finally get to hear the results of all your hard work as you program and play the final patch.
First choose your sampler. Samplers are available in both hardware and software varieties. More often these days people use software samplers due to their generally lower price point and ease of use. Many are even included as stock instruments in software such as Apple’s Logic, Propellerhead’s Reason, or Ableton’s Live.
Make sure your samples are located on the hard drive where you intend to keep them. Moving them later after programming the sampler will most likely cause problems. Create a blank new patch in your sampler and import the samples. This may be as simple as a drag and drop or may require some sort of menu.
Once the samples are loaded into the sampler you will need to set the parameters of each sample based on their individual pitch and dynamic values.
The root key of each sample should be set to match the note that it represents (the “Celeste_F#2_Soft” sample I mentioned earlier would get a root key of F#2).
When the root key is played on your MIDI keyboard the sample will be triggered/played at it’s original pitch. The key range of each sample is adjusted by setting a high and low key on the keyboard. Between these two keys is the range in which the sample will be triggered and within in that range the sample will be automatically pitched up or down based on how far you play away from the root key.
If you have captured multiple dynamic levels for your samples you will need to set appropriate velocity ranges as well. Velocity is a measurement of how hard you play a key on your MIDI keyboard and ranges from values of 0 to 127.
Set the top and bottom velocity settings for each sample so that the softer dynamic samples are only triggered by lower velocities and the harder dynamic samples are only triggered by higher velocities. Experiment with your settings and test them from your MIDI keyboard controller.
Be sure to save your finished patch so you can access it whenever you need it. Consider creating variations of the patch using other articulations that you captured or simply by adjusting the settings available to you in the sampler.
You can download the Celeste Sample Pack here. It is in the Reason Refill and .WAV formats.
You can also read and comment on the original article here.