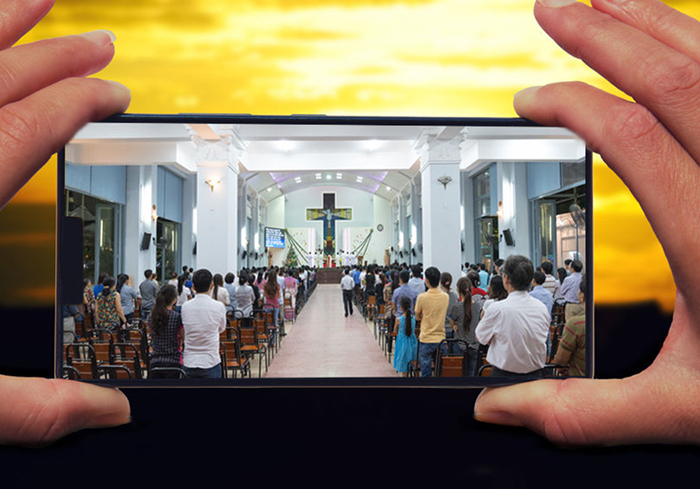
The number of online worship congregations is growing rapidly. For years now, religious institutions have cultivated pages and groups on websites like Facebook that are dedicated to community outreach and spreading their message.
The ability to bring communities together beyond space and time has never been better. As technology continues to develop, it’s easier than ever to connect people, congregations, countries, continents, ethnicities, and even religions. As a tech professional in the house of worship sector, I’m asked about streaming more than anything else. Where to begin? What equipment? How much money?
Let’s look at what’s required to set up a basic yet effective streaming system.
The Right Pieces
First let’s start with the necessary gear, which includes:
• An output from the audio console. It can be a tape output, an aux output, a matrix output, or whatever is available. Stereo isn’t necessary, but if you’ve got the capability it certainly will not hurt.
• An audio interface to convert the analog output from the console into a digital input for the computer.
• A computer with moderate processing power. It can be a machine already in place for other things (i.e., providing graphics to the video system), or if the budget allows, purchase a new one. Whatever the case, the minimum specs I recommend are a CPU of at least 2 GHz, 20 percent availability on the hard drive, and 4 GB of RAM, as well as an internet connection with at least 12 Mbps internet upload speed. (An easy way to check computer speed is to type in “internet speed test” into Google and then click “Run Speed Test.”)
• Open Broadcasting Software (better known as OBS), free and available for download at obsproject.com.
• A USB camera – pan-tilt-zoon (PTZ) capability preferred.
• An additional tech to run the stream or to run the console. This isn’t necessary if the stream is without graphics – in these cases, simply press “start stream,” confirm that it’s working, and then focus on the house sound. (Just don’t forget to “stop stream” when the service is over.)
Putting It To Work
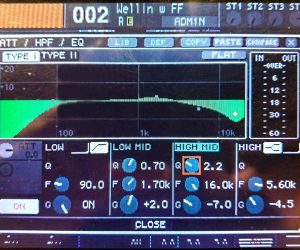
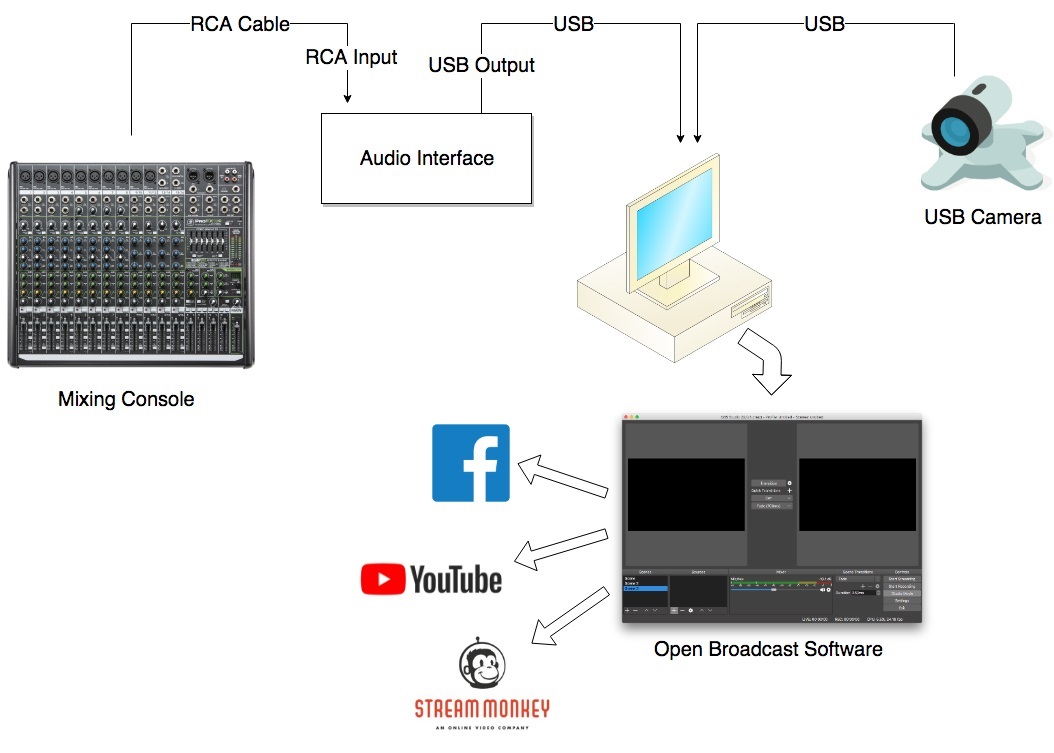
The first step is interconnecting these components. As an example, I’ll use specifics from a recently completed project. The church had a Behringer X32 digital mixer. The stream audio mix was done via a pair of aux buses on the console. (When possible, a dedicated mix is better than simply streaming audio from the main mix bus. Whatever may be happening in the room will not necessarily translate well to computer speakers or headphones for those logging in online.)
The mix was then routed to a Behringer U-Control UCA222 interface via the console’s RCA outputs. The short cable lengths involved meant that the unbalanced cables didn’t present an issue. For longer runs, you’ll want a balanced connection.
Consistent levels are vital for continuity and comfort for those joining online. Having the speech portions of the service 15 dB below the band is annoying and could potentially damage the hearing of the listeners if the band suddenly comes back in loudly. For this project, I used a 20:1 limiter on the stream output to craft some consistency between cues.
I dialed up a basic mix to ensure that all the necessary inputs were translating through to the computer, which will serve as a starting point for the person mixing the Sunday service. Mixing for a stream often requires special attention to create the best experience. Some churches have a dedicated engineer solely to handle the streaming audio mix. Even if you’re just streaming your main board mix, keep in mind that it’s also going out over the stream.
The Visual
Now that the audio stream is set, let’s move on to video. If you’re used to working mainly with audio, cameras might seem a little intimidating. Here are some of the basics: PTZ cameras have mechanical parts that allow them to move side to side (panning) and up and down (tilt), and a motorized lens to zoom in and out. Some cameras can interface directly with the computer via USB rather than requiring a costly camera switcher.
USB PTZ cameras cost anywhere from $50 up to several thousand dollars. If cost is a concern, consider using a non-PTZ camera to capture a simple static shot. In general terms, the further away the subject is from the camera lens, the more expensive the camera setup becomes. For longer shooting distances, where remote controls are desirable, expect price tags above $400.
For this particular project, we used a camera that cost approximately $800 and can easily pick up a subject at 50 feet, with 300 degrees of pan. Other than labor, the camera was the most-costly aspect of the project, and a nice camera is a good investment because achieving quality results with video are often not as simple as with audio.
As a note, Facebook Live stream quality is currently limited to 720 p at 30 fps, so if you’re streaming exclusively to Facebook, it’s unnecessary to spend big bucks on a high-resolution camera.
Setting The Scene(s)
Open Broadcast Software is free, open source software supported by many large vendors and manufacturers such as ProPresenter, YouTube and Facebook. It has a large user base and excellent community support.
There are many OBS tutorials available on the internet so we’ll just touch on the basics here: OBS uses “scenes” that create an index of sources and their locations. Switch between scenes to change what video signals are sent to the stream. As an example, I created four scenes for my install project:
• Full-Screen Graphics
• Full-Screen Camera
• PIP Graphic/Cam (Picture in picture, large graphic with small inset camera feed)
• PIP Cam/Graphic (Picture in picture, large camera feed with small inset graphic)
This provides the operators different options depending on what’s happening in the service. For example, the camera can be pointed at the band while the lyrics are displayed in the lower corner. OBS offers virtually endless possibilities for scene configuration, including lower third graphics, multiple cameras, desktop capture, slideshow capture, and file views. (By the way, if your church uses ProPresenter on a Macintosh computer, you can connect to OBS via a virtual video output called “Syphon,” available under Display Preferences.)
To The Internet
OBS makes it easy to connect to a multitude of streaming hosts. Facebook Live is a popular choice. The administrators of the Facebook page have access to Stream Keys that point the output of OBS to a specific location. And, Facebook offers its own instructions on how to connect OBS to their streaming platform. Other popular platforms include YouTube, Twitch, and Stream Monkey.
Streaming is a lot of fun and can bring a new dimension to worship. Diving in is a great way to begin learning. From my experience, once leadership sees how it all works, their creativity starts to kick in. One of the reasons I got into this field was to cultivate growth and opportunity within houses of worship, and streaming technology is a tool that offers the ability to further both education and evolution.