
Testing A Room
There are two quick, easy tests that can be used to judge the basic acoustical merits of a room. I call them “the hand clap” and “the two talker” tests.
Hand clap. This one is real common and can be done solo. It’s used to evaluate the presence of problematic “flutter” echo and provide a rough idea of a room’s reverberation time (T60). Executing this test is no more difficult than having the ability to produce a single, loud hand clap. The fingers of one hand striking the palm of the other works best for me.
Walk around the venue. Occasionally stop and clap your hands one time. Then just listen. In almost all locations, you should hear and notice either echoes, reverberation, or both. If you hear echoes, with little or no reverb, look around for any large, hard, parallel surfaces you may be standing between. These flutter echoes are symptomatic of acoustical problems that, at the very least, will reduce clarity and intelligibility. Move around the room and repeat as needed.
If you hear a smooth, obvious, reverberant tail after the hand clap, without any obvious echoes, try to count the number of seconds it takes for the reverb tail to become inaudible. Count up from zero, as in “zero Mississippi, one Mississippi, two Mississippi.” If you get to more than about 1.5 “Mississippis,” it’s an indication the room probably has too much reverb for good speech clarity and intelligibility. Count silently to yourself. Move around the room and repeat as needed.
It’s not uncommon to hear both echo and reverberation. When you easily hear both, it usually indicates that the T60 is under 2 seconds, but greater than 1 second. If this is the case, treatment solutions may need to focus on absorption, diffusion, or both.
One more comment about excess reverberation: It’s fairly common for reverb to mask flutter echoes. When you treat a room to reduce the T60, you often will “uncover” residual flutter echoes. Keep an eye on the parallel walls when applying treatment. If possible install some of your absorptive or diffusive materials on at least one of each pair of parallel walls.
Two Talker. This assessment requires two people and is used to evaluate speech intelligibility and clarity, room noise, direct-to-reflected (D/R) ratio, and perhaps even the need for amplified sound reinforcement.
The procedure goes like this: Two people face each other, spaced an arm’s length distance apart. The beginning location is not overly critical, but let’s use the front row in a church sanctuary for our example. One person faces the back wall, the other faces the chancel, stage or platform. Begin a conversation at a normal speaking volume and maintain the same volume throughout the test.
Next: After a few short exchanges, the person facing the stage backs up by about five paces, while the conversation continues. Again, after a few short exchanges, the same person moves back another five paces. Continue this process of talking and moving apart until you reach a point at which the conversation becomes either unintelligible or nearly inaudible.
If you begin experiencing lower and lower intelligibility, before reaching the physical limits of the space, you’re most likely at or beyond the point of critical distance. This means you’re hearing more reverberant energy than direct sound from the other talker.
Presuming you haven’t reached critical distance as you move further and further apart, you may find a point where the other person’s voice is just too soft to be easily heard. If this happens, it’s an indication that a sound reinforcement system may be needed to amplify the spoken word. If neither scenario occurs, you’re probably evaluating a fairly small room or one with reasonably good acoustics.
Let’s Test Our Hearing
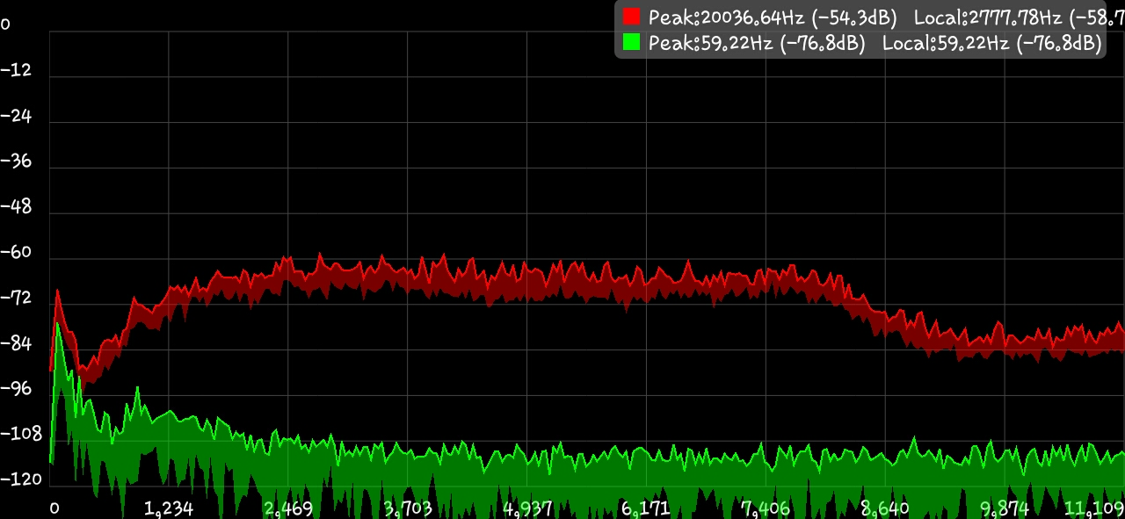
Ever noticed that your hearing seems a little “off” some days – especially in the mid-frequency range and above – but you aren’t sure what’s changed? (Me too.) Here’s a simple trick: While holding a hand close to either ear, rub your thumb, index and middle fingers together. The friction of your fingerprints will cause a soft, mid- and high-frequency “white” noise reference signal (Figure 2).
Does this noise sound the same in both ears? If so, that’s good. If not, there’s a chance you have excess wax in one ear, a Eustachian tube blockage due to illness, a temporary hearing loss due to overexposure to high SPLs, or possibly some permanent hearing loss.
It’s a good idea to get familiar with this sound when your ears are clear and rested. Then, when you feel the need to check, you can cross check what you may be hearing from your favorite reference tracks, against what the fingerprint friction test reveals. I’m not suggesting this takes the place of a proper hearing test, administered by and audiologist, but rather another trick in the tool bag, when you feel the need.
Here’s a minor variation for any of the older folks out there whose fingerprints have worn smooth. The same process works if you rub the palms of your hands together next to an ear. More surface area means a little higher SPL, but similar tonality.
A Matter Of Trust
Do you trust your ears? Are you an “active” listener, and have you begun to develop and refine your mental library of sounds? (For more on this, check out “The Mental Side Of Mixing.”)
If you don’t already, you need learn to trust your ears. With first impressions, and even after a more thorough analysis, they should give you a very reliable take on how things are working and sounding.
For example, when compared to an unamplified, face-to-face conversation, does the human voice you’re listening to sound natural when amplified through the local system? If not, do you really need to bring in a dual FFT analysis program to confirm there’s a problem? I think not.
The computer rig may confirm the problem by showing you specific frequency and phase anomalies, but it won’t tell you what’s causing the problem. With today’s test and measurement tools, there are many highly sophisticated options to help refine and verify a system’s performance. But overall, our ears should be the first, then final arbiter of a system’s quality and performance.
Final Thoughts
I realize there are many phone apps and laser measuring devices that can take the place of my “organic” tools. They’re easy and obvious.
But it’s my hope that you find at least one or two of the tips presented to be worth considering for those times when you have no cell service, have left your specialized electronics at home, have drifted into the dead battery zone, or are just feeling lazy.