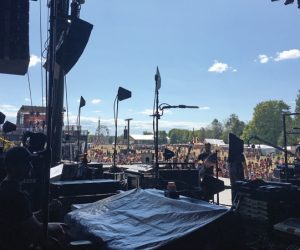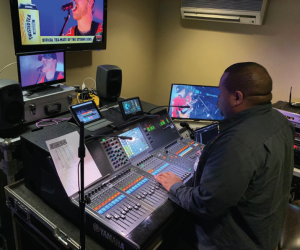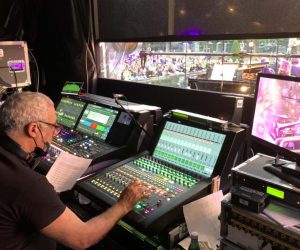
During this prolonged period of not working on shows, there are still things we can do to become more prepared for when we return to the live sound environment. Especially if working as a touring engineer without your own gear, it’s possible to get ahead in the game by preparing a mixing template session for all of the consoles that might come your way (or even those console that aren’t as likely to show up).
Having a starting point for a session when under a time constraint (which is always) can not only help save time and increase efficiency, but also ensure a better mixing experience for everyone involved.
Every time I mention this topic to fellow engineers, their minds almost always jump right to input channel settings, asking about channel strip settings for specific instruments. However, that’s actually the last thing on my mind when I start creating a new console showfile.
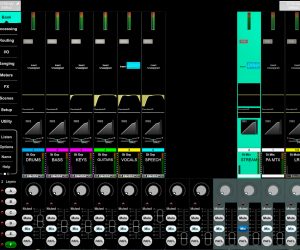
To me, session templates are primarily about the consistency of the workflow. Having a familiar layout across all consoles is much more crucial when setting up a template than the compression settings on a kick drum channel.
A good template is one that can provide a recognizable starting point on a console. I’ll always have to adjust a specific channel setting with a new session, but how the faders are placed on the board, how the signal flow structure is created, the shortcuts, FX placement – these can and should be consistent no matter the console (or artist).
Scalability
One thing to keep in mind when designing session templates is the scalability of the template. A lot of digital console manufacturers will have the same offline software (or at least provide means of transferring the sessions) for consoles in the same series.
So which console software should you choose for designing a session – the smallest format or the largest one? My preferred way of doing it is to go with the largest console’s offline software (or the largest console I know can possibly become available to me), but then design the session in such a way that it fits the smallest console first.
From there, I add channels and routing for consoles with more capability. As a result, if I need to cut down on channels, faders and/or shortcut buttons for a smaller console, the routing paths will still work and none of the essential channels will be gone.
Considerations & Decisions
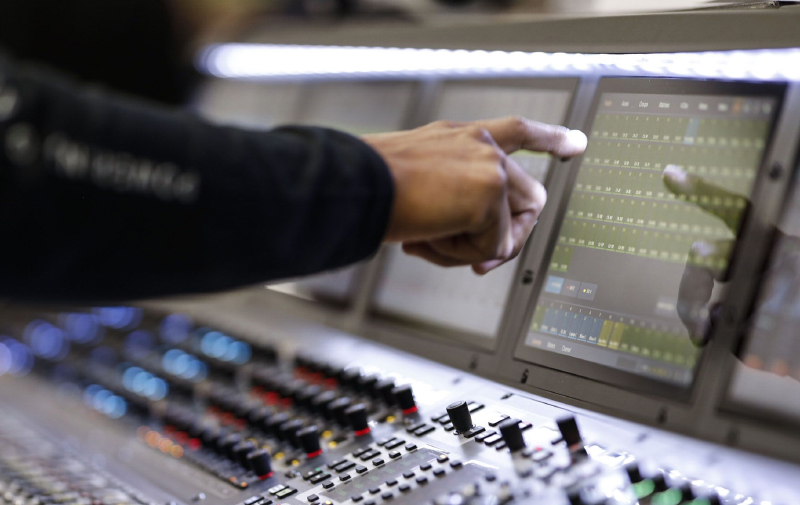
How many faders does the console have and how are they distributed among fader bays? How many channels of matrices? How many user assignable buttons are available? What about busing? How many FX slots?
All these considerations come to mind when preparing a template session. They should drive the decision-making process with session design by forcing you to consider the common denominator between your workflow and the capabilities of the console.
Let’s face it – console manufacturers aren’t making it easy on us. Each has its own philosophy on how many faders in a fader bay, how to lay out a channel strip, how many assignable buttons are on the surface – and that’s just the layout. It’s up to you to decide how that all fits in with your preferred approach to mixing.
Through the years I’ve developed a “must have” list of items to have available at all times. This is something I strongly advise considering for yourself as well. You should be able to look at a console’s surface layout and see your “anchor points” – the most reached-for controls that define your workflow. Then program the session by populating those anchor points and filling out the rest.
Routing
To ensure my session is as bulletproof as possible, I design the signal path from the top down, meaning that I start by creating the matrix channels, buses and FX channels first, and later focus on the input channels. It’s like building a house first and putting the furniture inside it later on.
I usually start with matrix channel programming first. Remember the scalability consideration? Here’s when it comes to life. In the largest console software that I’m using for my template, I might have 12 matrix channels available, but in the smallest console there are only eight. Thus I start by programming the eight matrices first, beginning with the most important ones – for a front of house mixing session, these are usually the PA system outputs and the recording outputs.